Create a Glowing Textured Moon You'll Be Proud to Hang on Your Wall
(Even if you've never heard of texture paste or palette knives in your life)
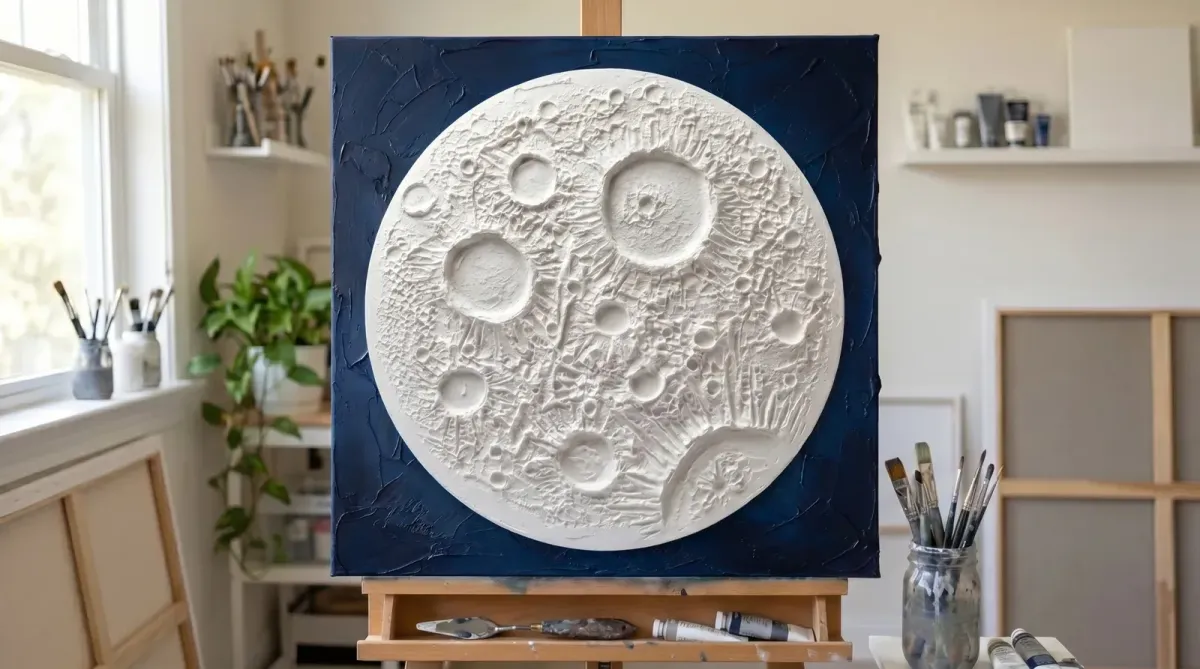
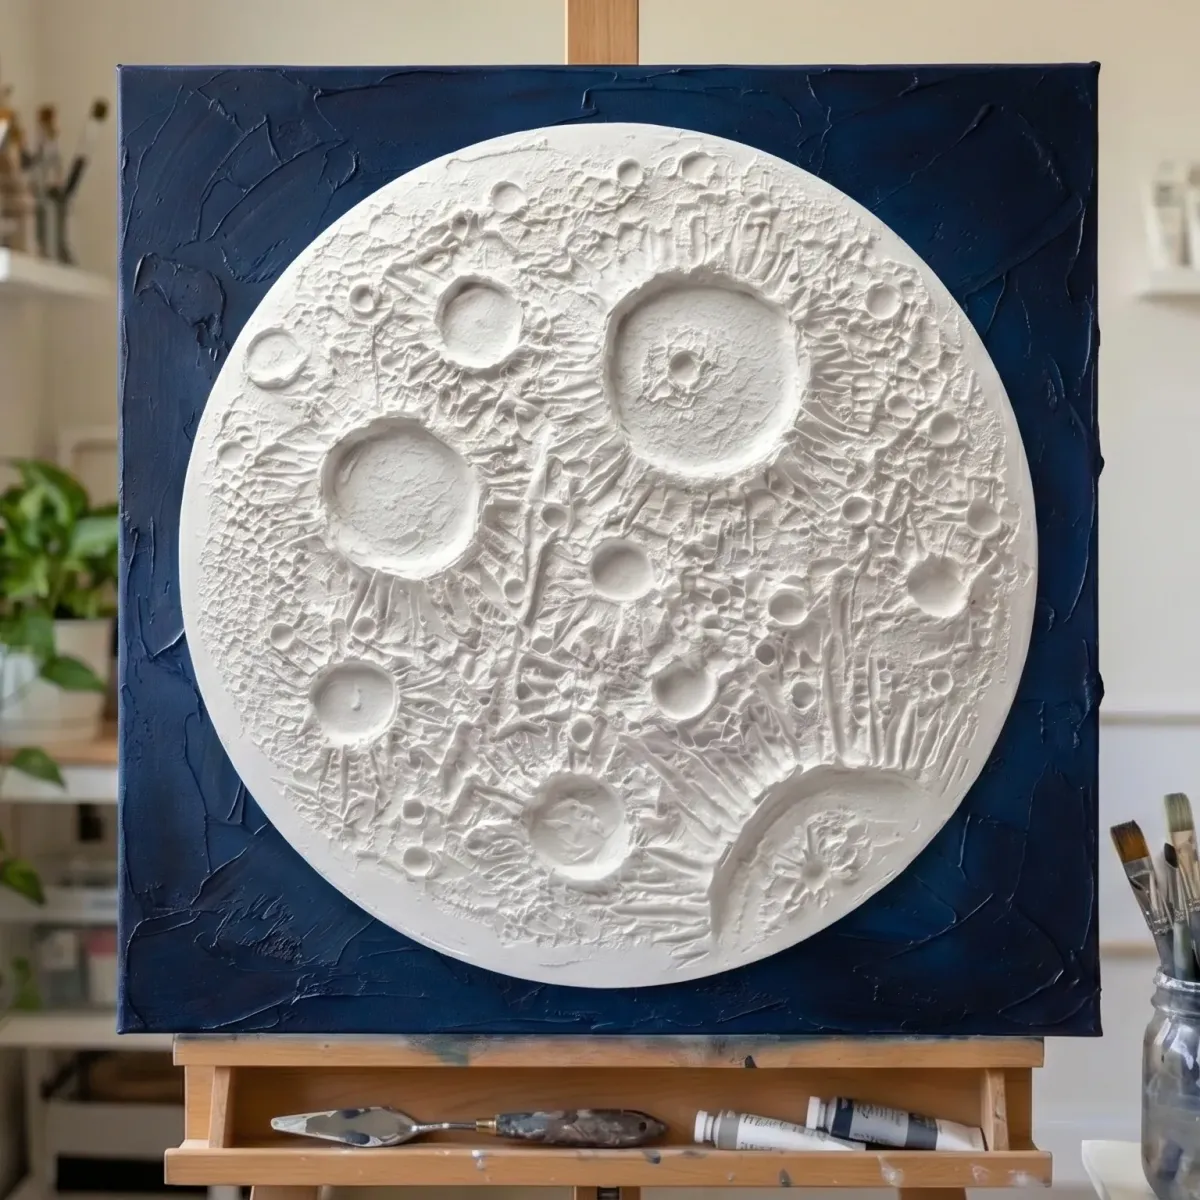
With step-by-step instructions, you'll go from a blank canvas and a tub of paste... to a glowing, hand-sculpted moon that makes people stop mid-sentence to ask where you got it.
Now imagine...
Watching a moon take shape under your hands - crater by crater - one simple motion at a time
Looking up and realizing your coffee went cold an hour ago... hands still in the paste, nothing but the moon and the quiet
Running your fingertips across the finished surface, feeling every dip and rise you shaped yourself... thinking "I can't believe I made this."
Giving your wall something no store could ever sell - a textured moon that catches the light a little differently every time you walk past it
The best part is none of this requires talent, experience, or a single artistic bone in your body!
Now you've likely seen textured paintings like this before and thought...
"Wait... how do they even make it look like that?"
The raised craters and ridges that throw real shadows across the surface...
A texture so deep it looks like you could reach out and touch it...
From the outside it looks impossible to do.
The thick paste. Drying time. Some special tools.
And you'd need to be a REAL artist to pull it off, right?
So most people just quietly decide it's not for them and give up.
But here's what nobody's told you yet:
Texture paste is the most forgiving material you'll ever work with.
It moves slowly...
...you can just scrape it off or reshape it while it's wet...
...and it gives you ALL the time in the world to push a crater deeper or smooth a ridge back out.
It only takes a few simple steps anyone can follow:
The right paste thickness... how to build layers properly... what tool does what... and how to finish your piece.
Get these right and the moon pretty much makes itself!
Not to mention "imperfections" actually make a moon look MORE realistic.
So what looks technical and complex from the outside...
...becomes calm, almost meditative once you know how.
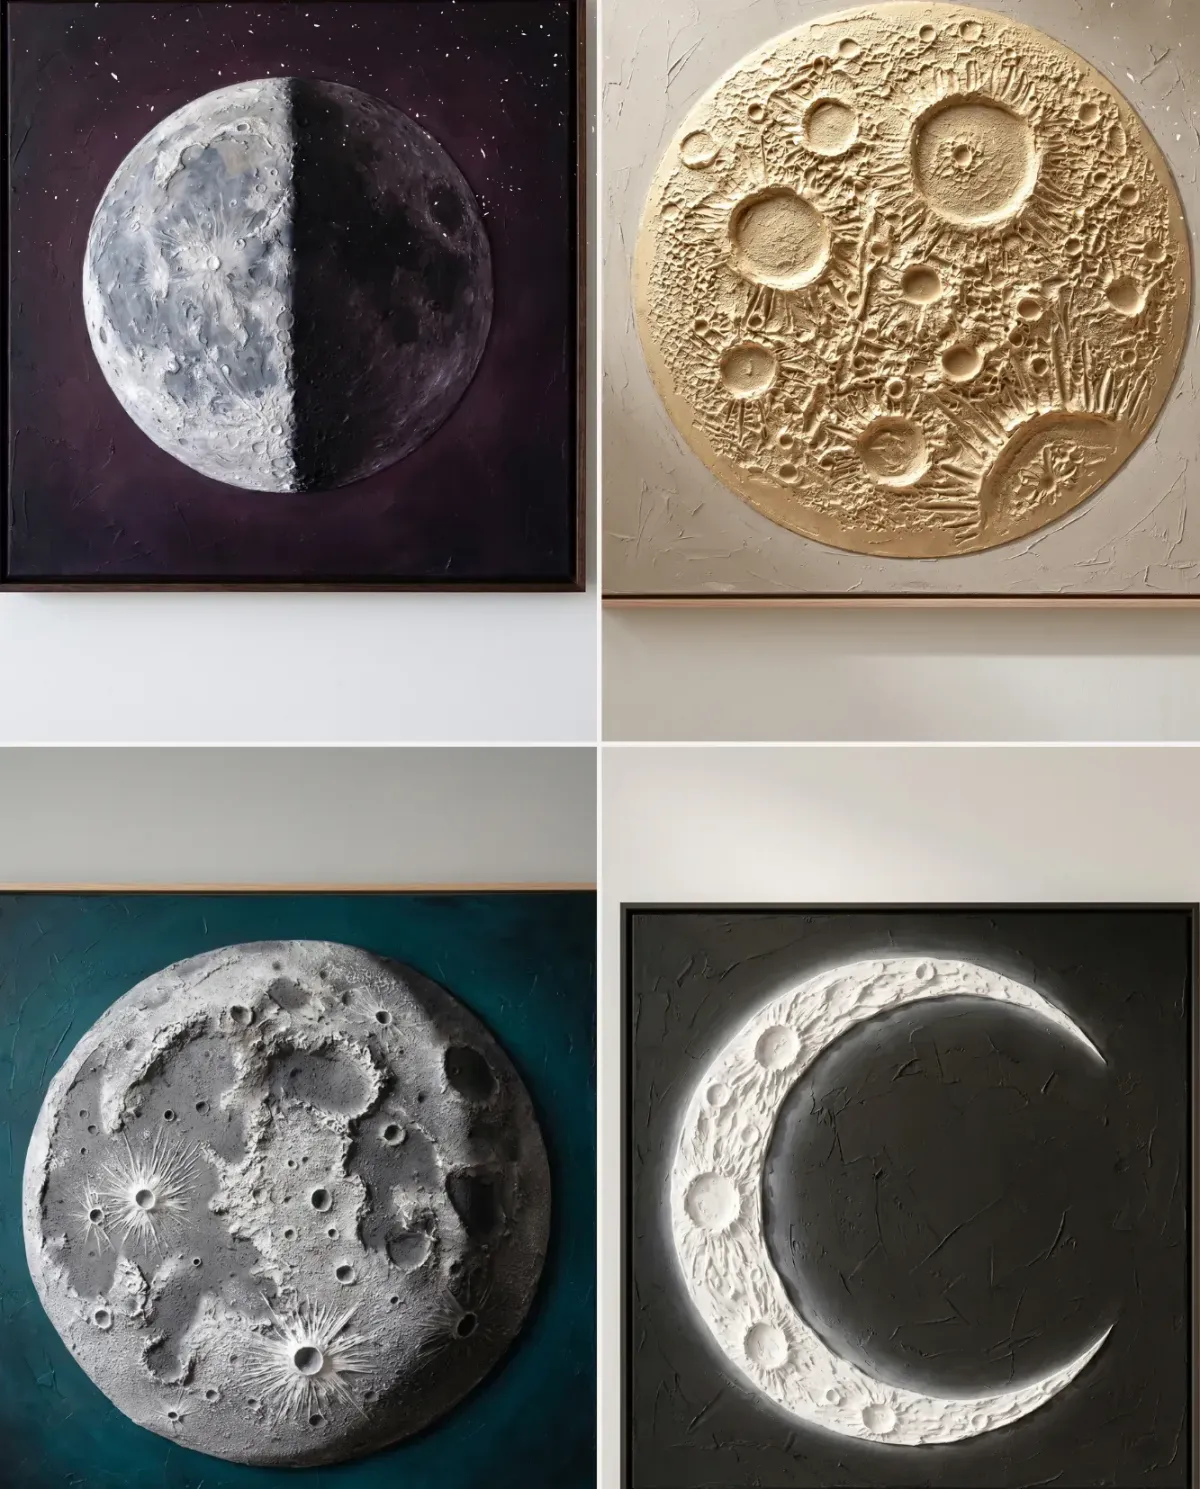
Best of all, the same handful of steps makes every kind of moon you can imagine.
A few of the moons you can make inside...
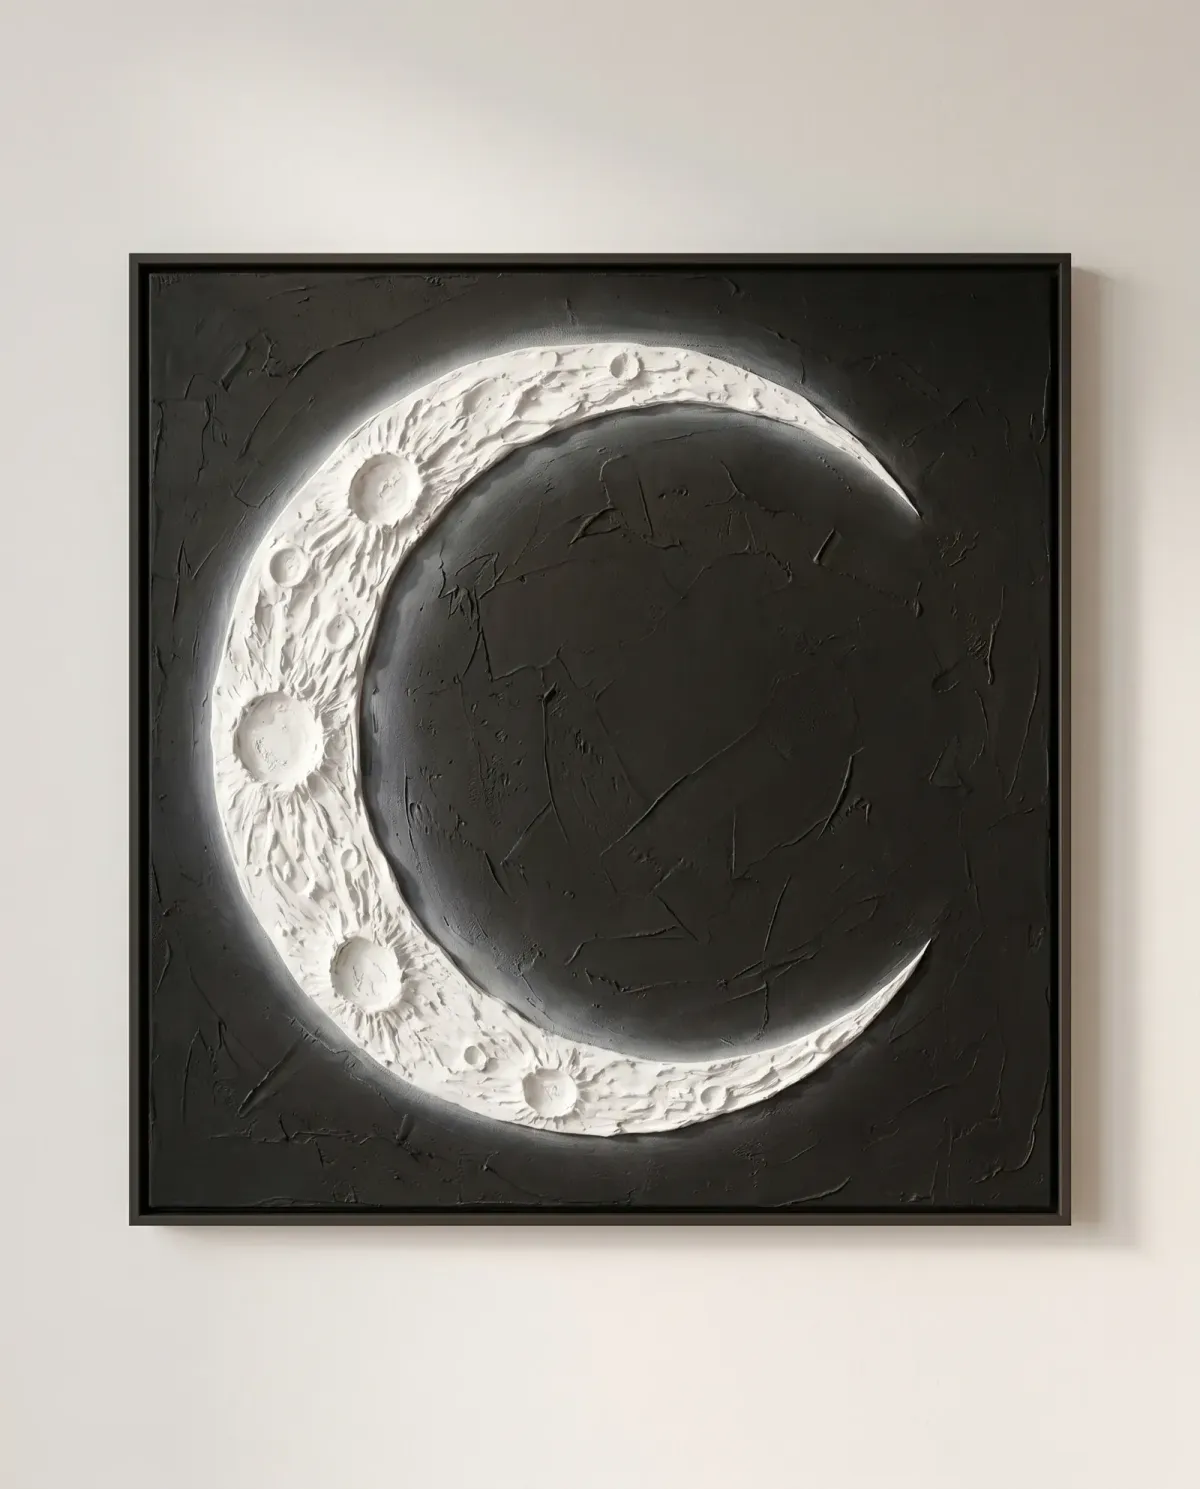
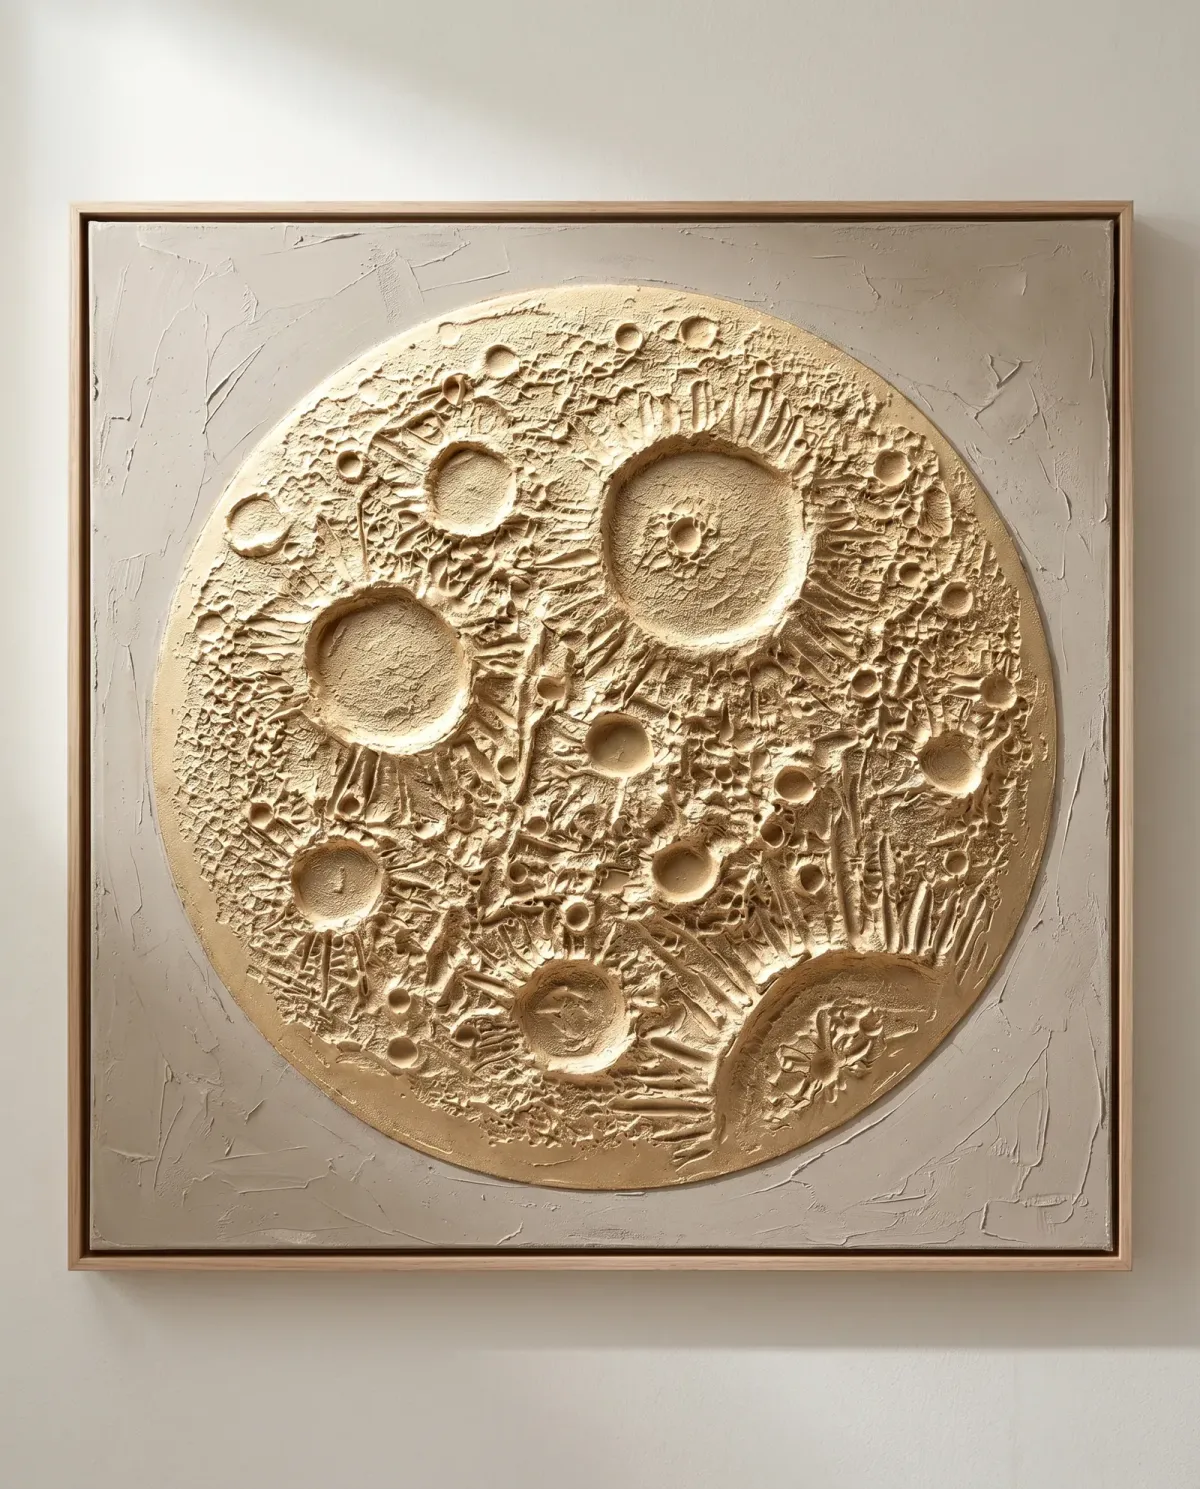
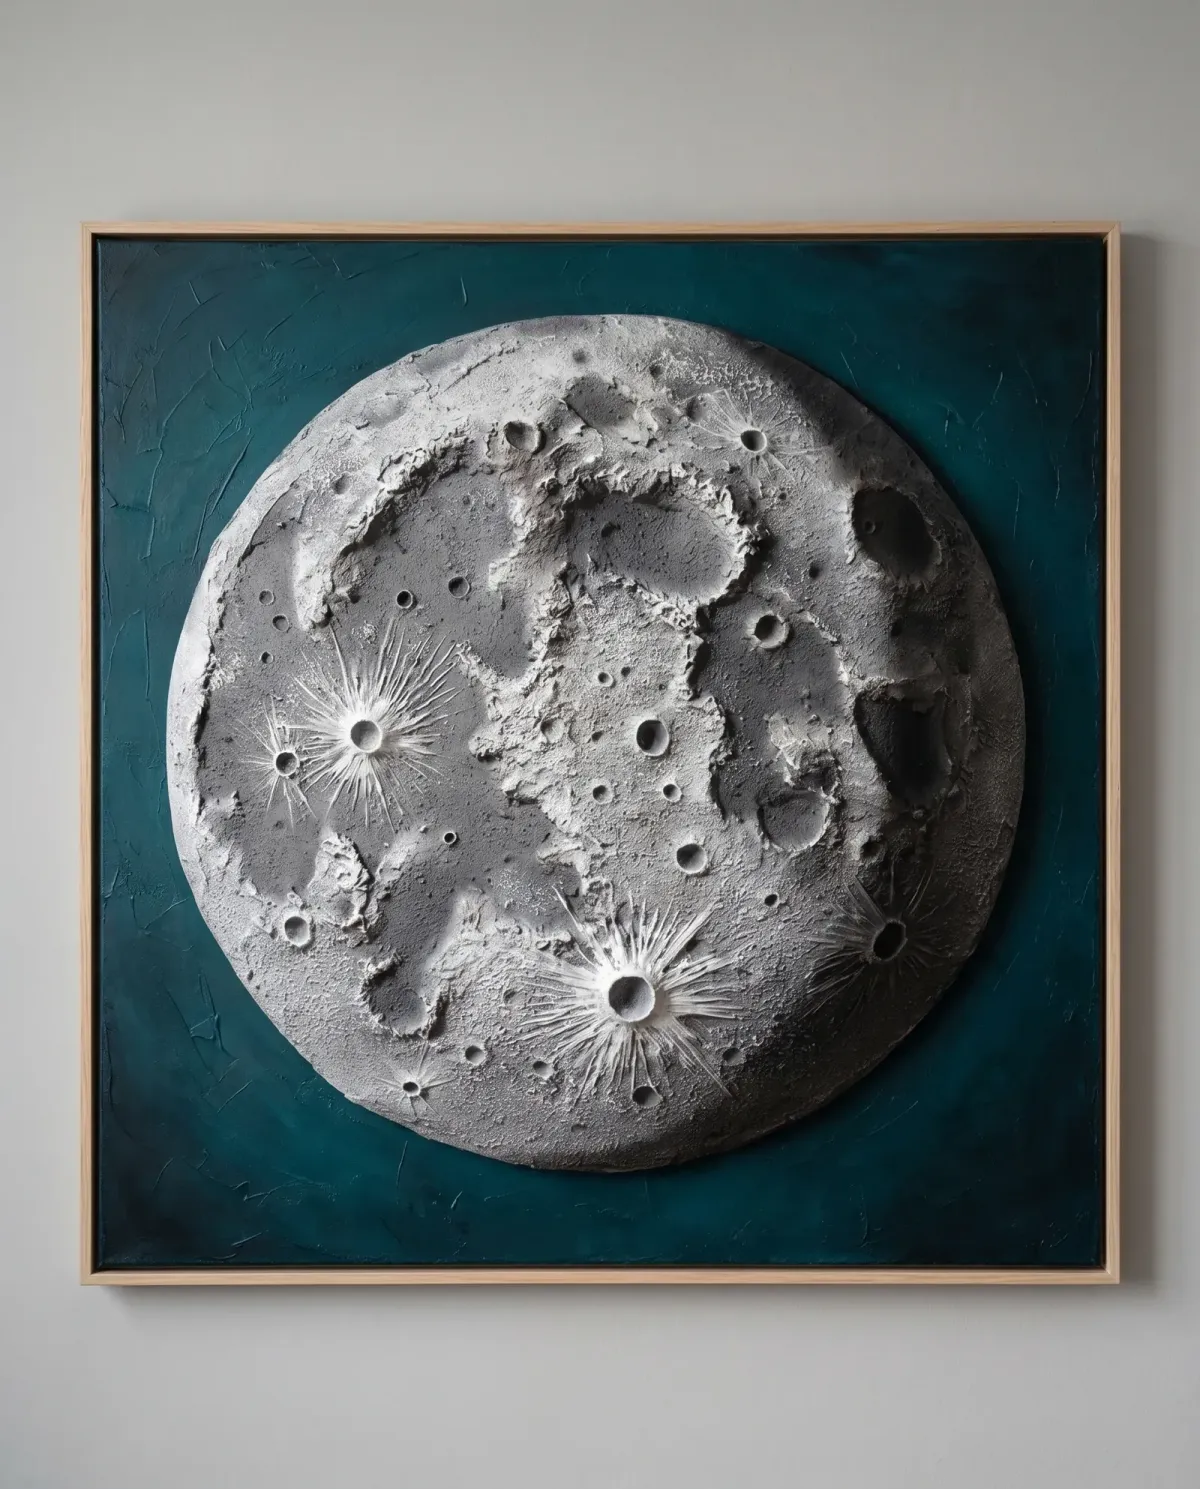
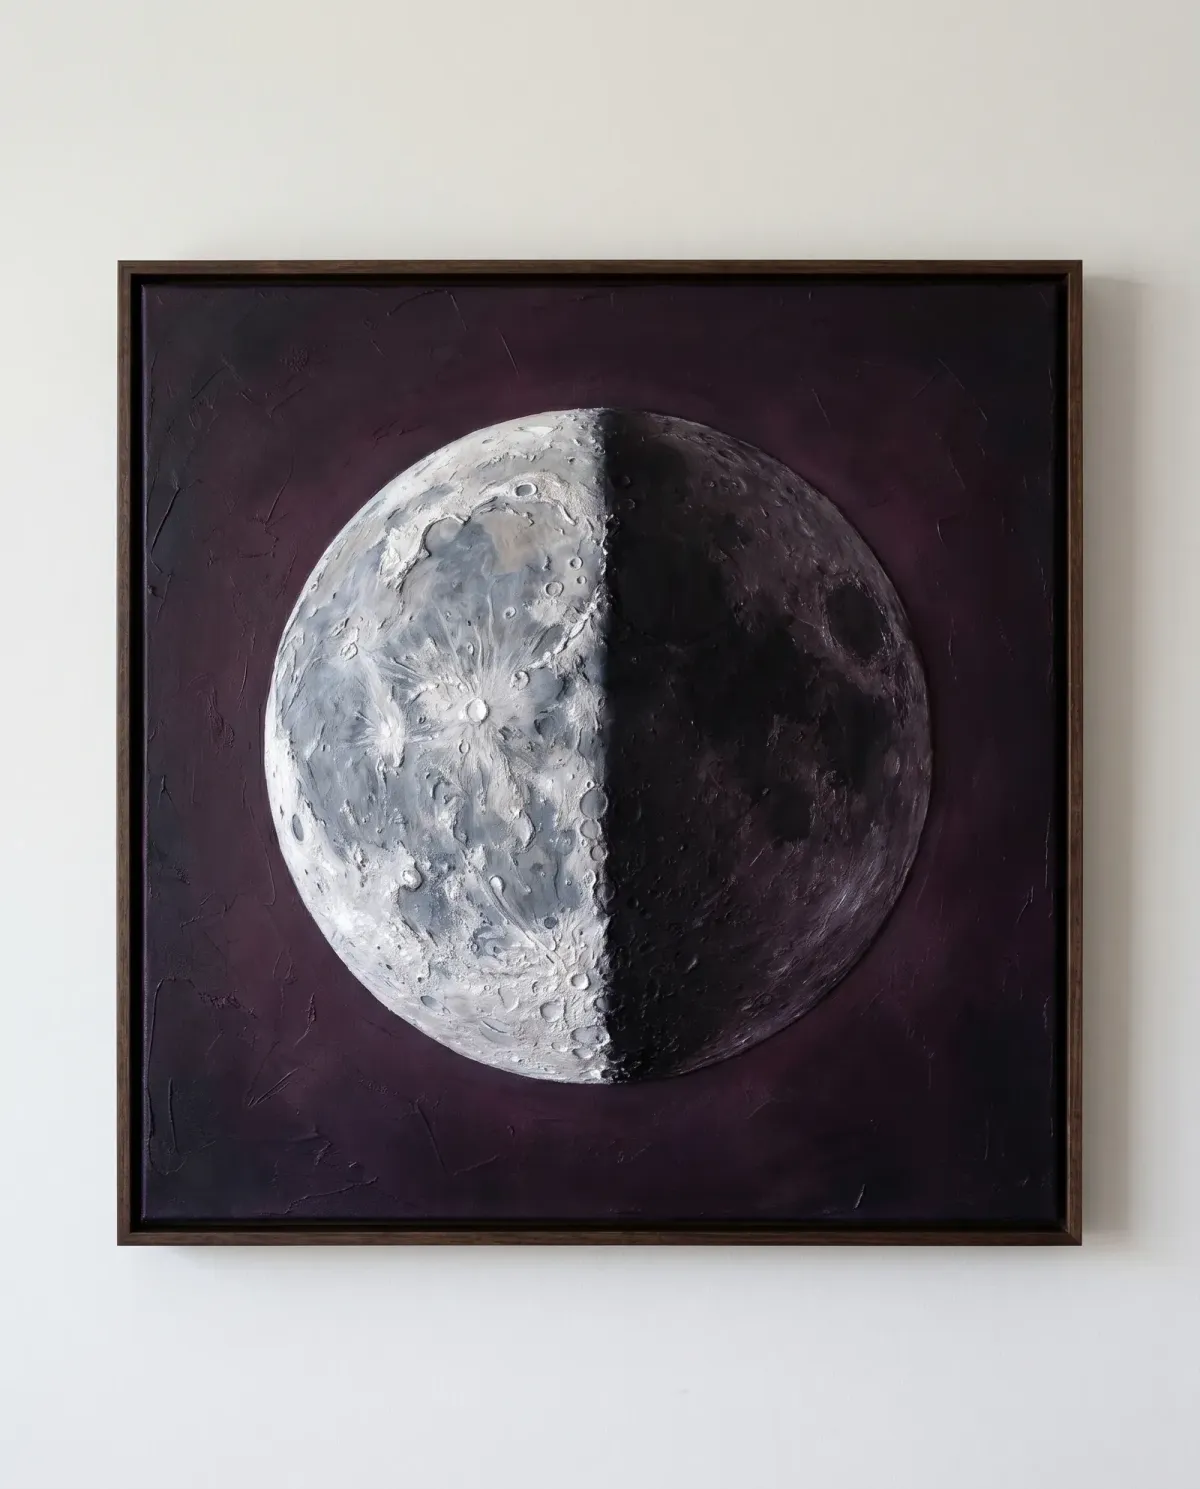
The workshop comes with a full collection of moon maps, templates and finishes...
...so once you've made your first one, you can keep making new ones whenever the mood strikes!
But first, let me introduce myself...
Hi, I'm Nathan.
If you're anything like me, you love the idea of making something beautiful with your own two hands...
...even if part of you isn't sure you can.
When I first found textured art, I felt utterly overwhelmed.
I'm self-taught, so I learned every bit of this the slow way - through trial and plenty of error.
But that's exactly why I can tell you this with confidence:
You don't need to be artistic to make a moon that stops people in their tracks.
You just need the right tools, a few core techniques, and someone to show you how they fit together.
So I took everything I worked out the hard way and turned it into a simple process anyone can follow...
...even if this is the first time you've ever tried something like this.
So let's make one together and have some fun!
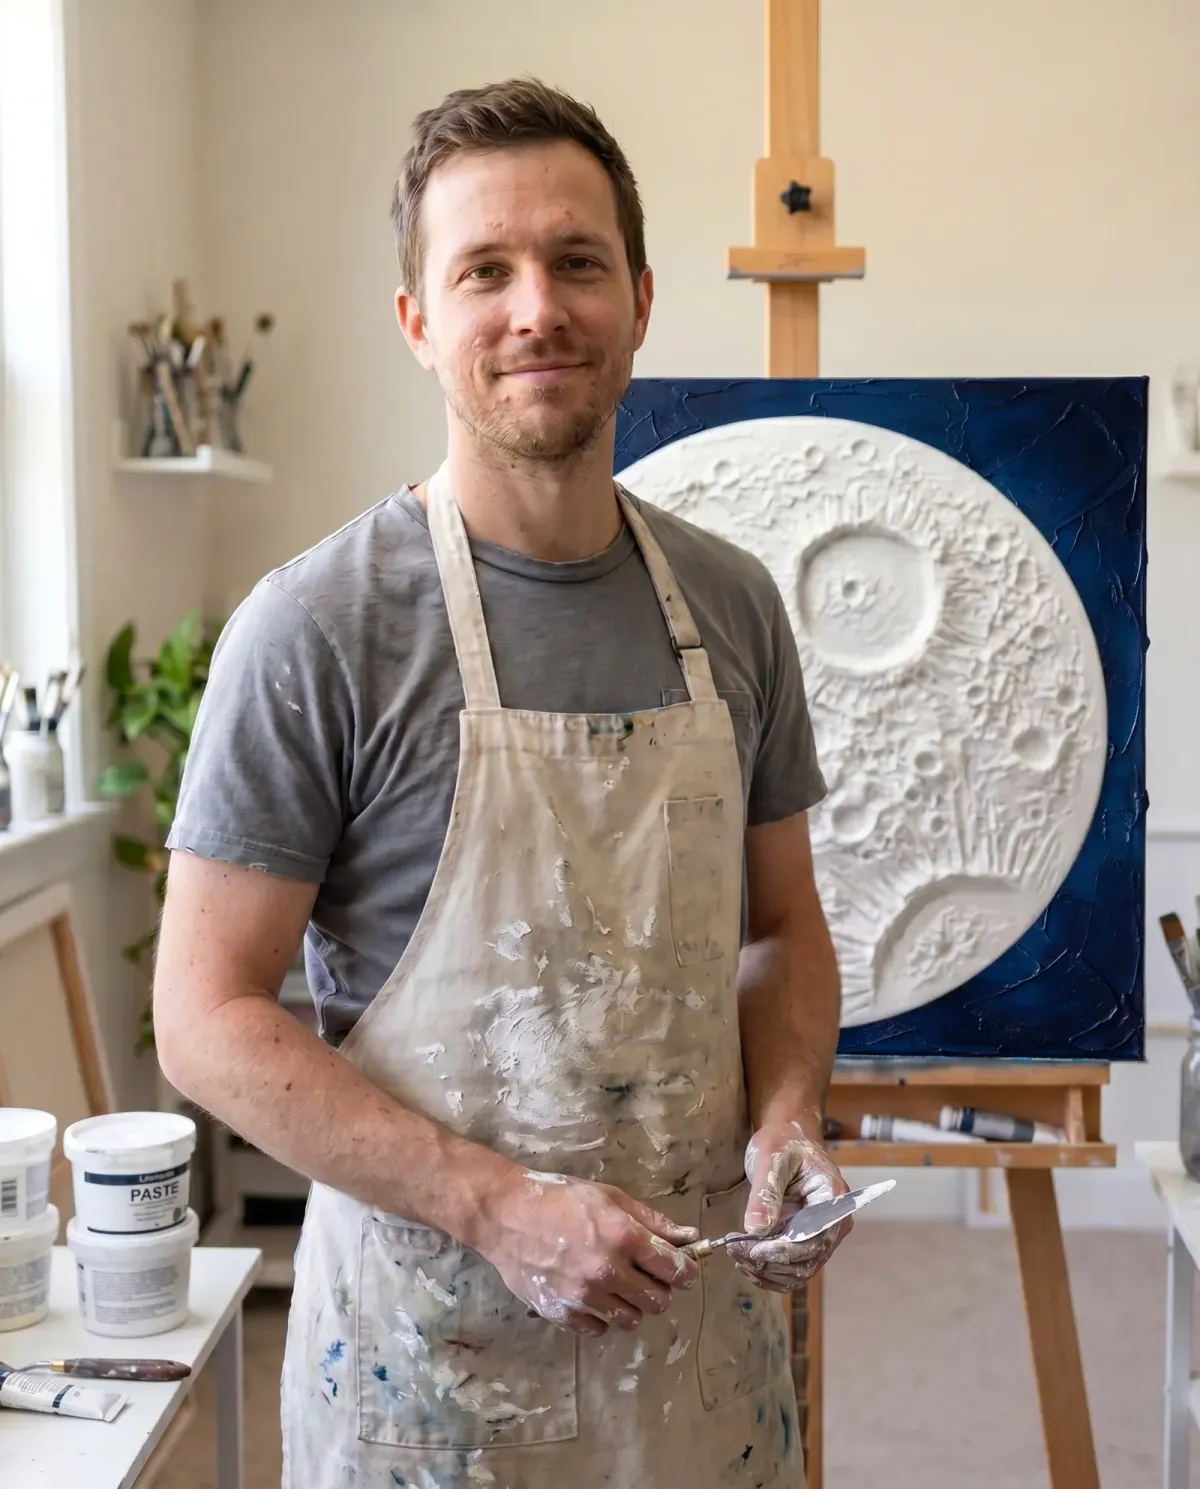
Introducing for the first time ever…
The Glowing Textured Moon Art Workshop
Go from a blank canvas to a glowing, hand-sculpted moon in a single weekend... even if you've never made art before.
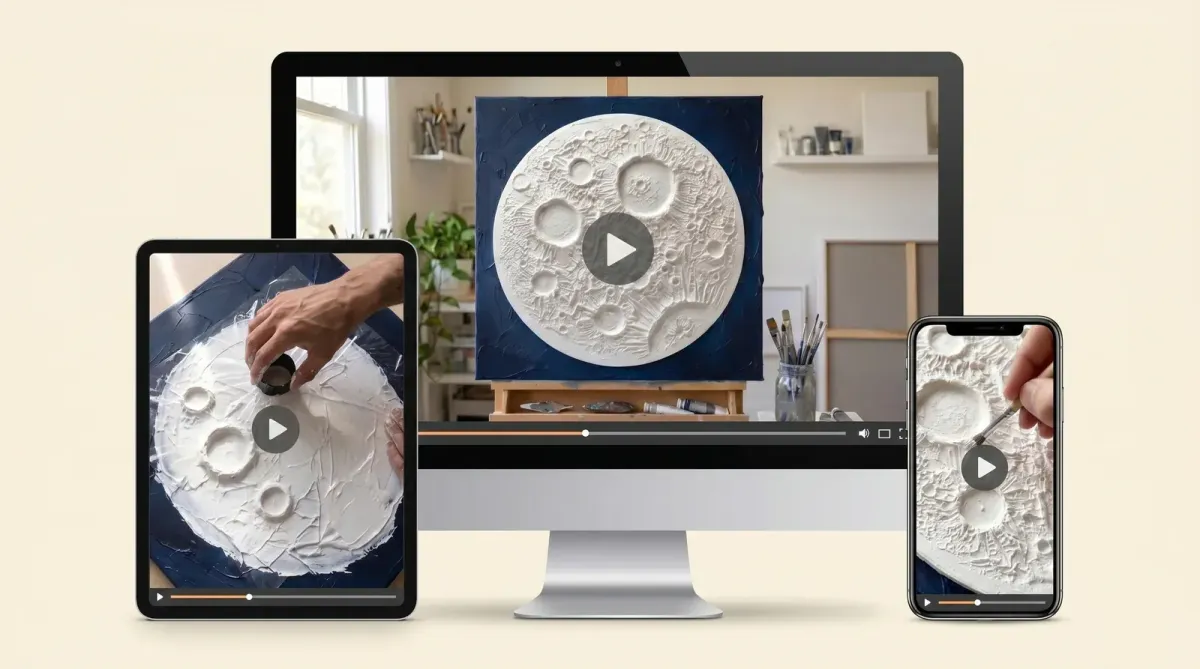
🎬 Step-by-step video walkthrough
📱 Access on mobile, tablet, and computer
😌 Beginner friendly
🦥 At your own pace
♾️ Lifetime access
Here's a small taste of what's inside:
MODULE 1
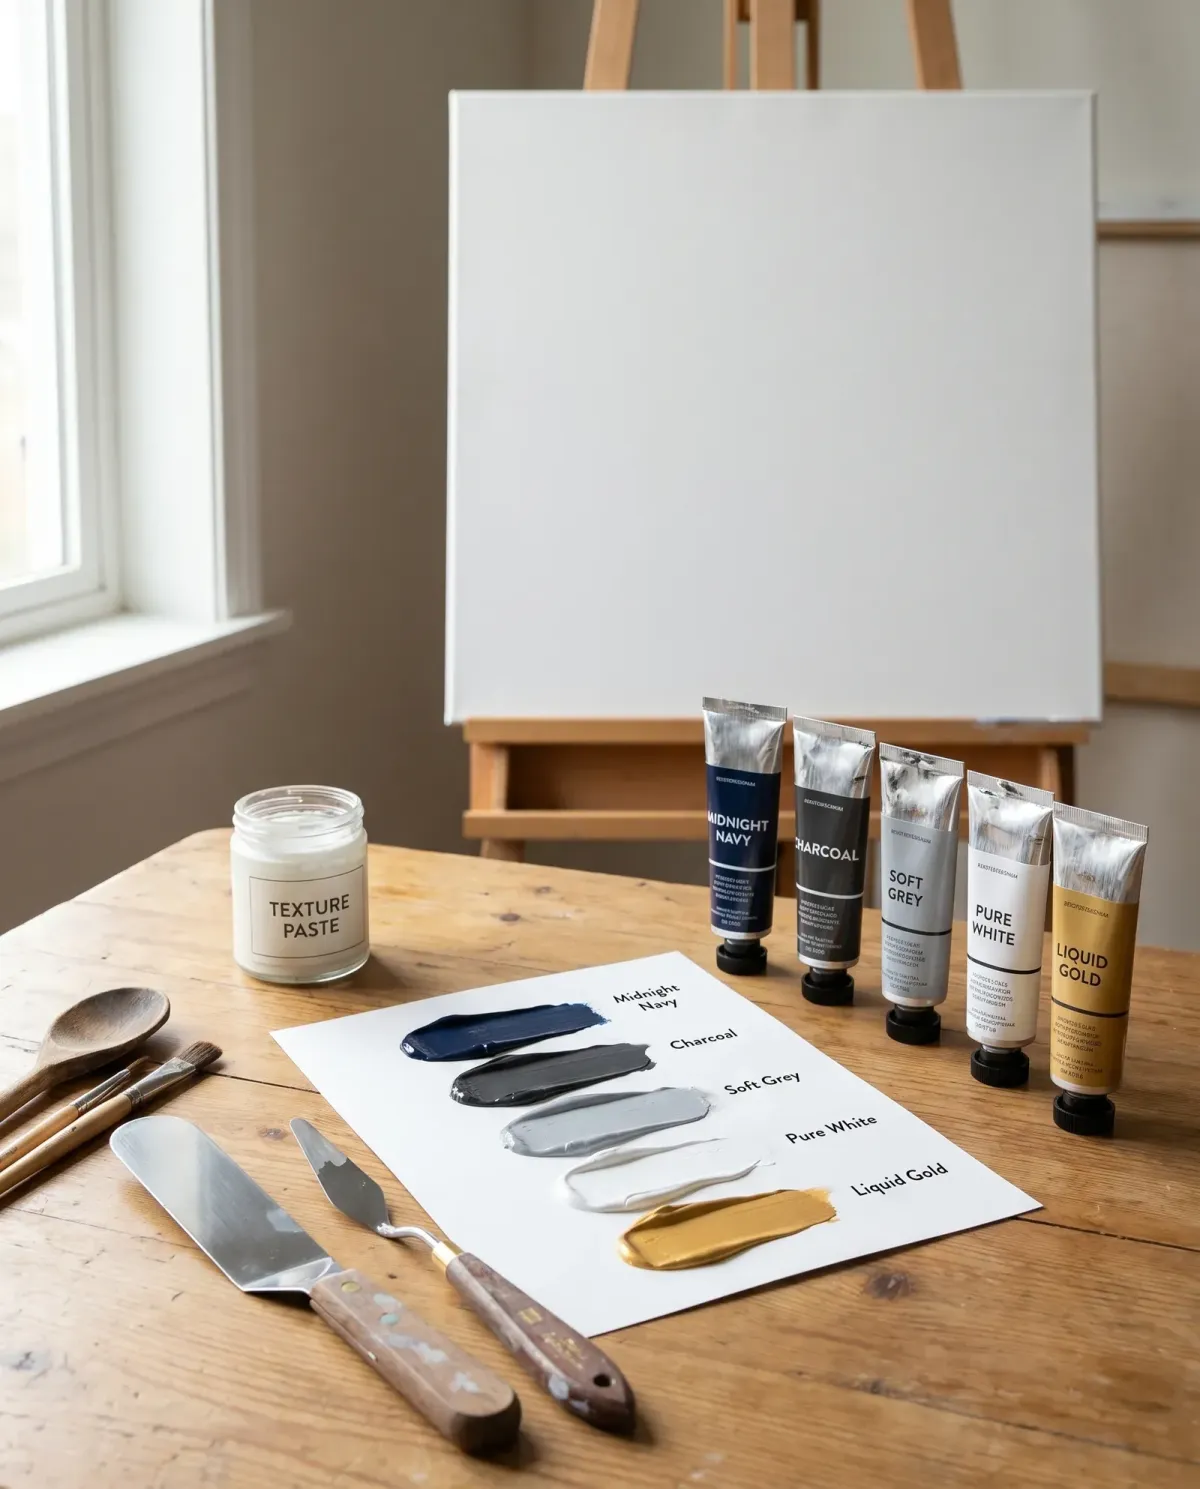
Everything You Need to Get Started
Before any paste touches the canvas, you'll know exactly what to get and how to use it. So when you start creating, it all feels simple and fun.
A printable checklist of every material you need - so you don't have to guess what to get on your own
Why your canvas choice decides how deep your craters can go - and how to prep it so the paste never cracks or lifts
The palette knife grip almost no beginner gets right - so your craters lift into real 3D instead of sitting flat
Carve a sharper crater rim with a tool you'd never find in the art-store aisle - I keep mine in the kitchen drawer, and you probably own one too
MODULE 2
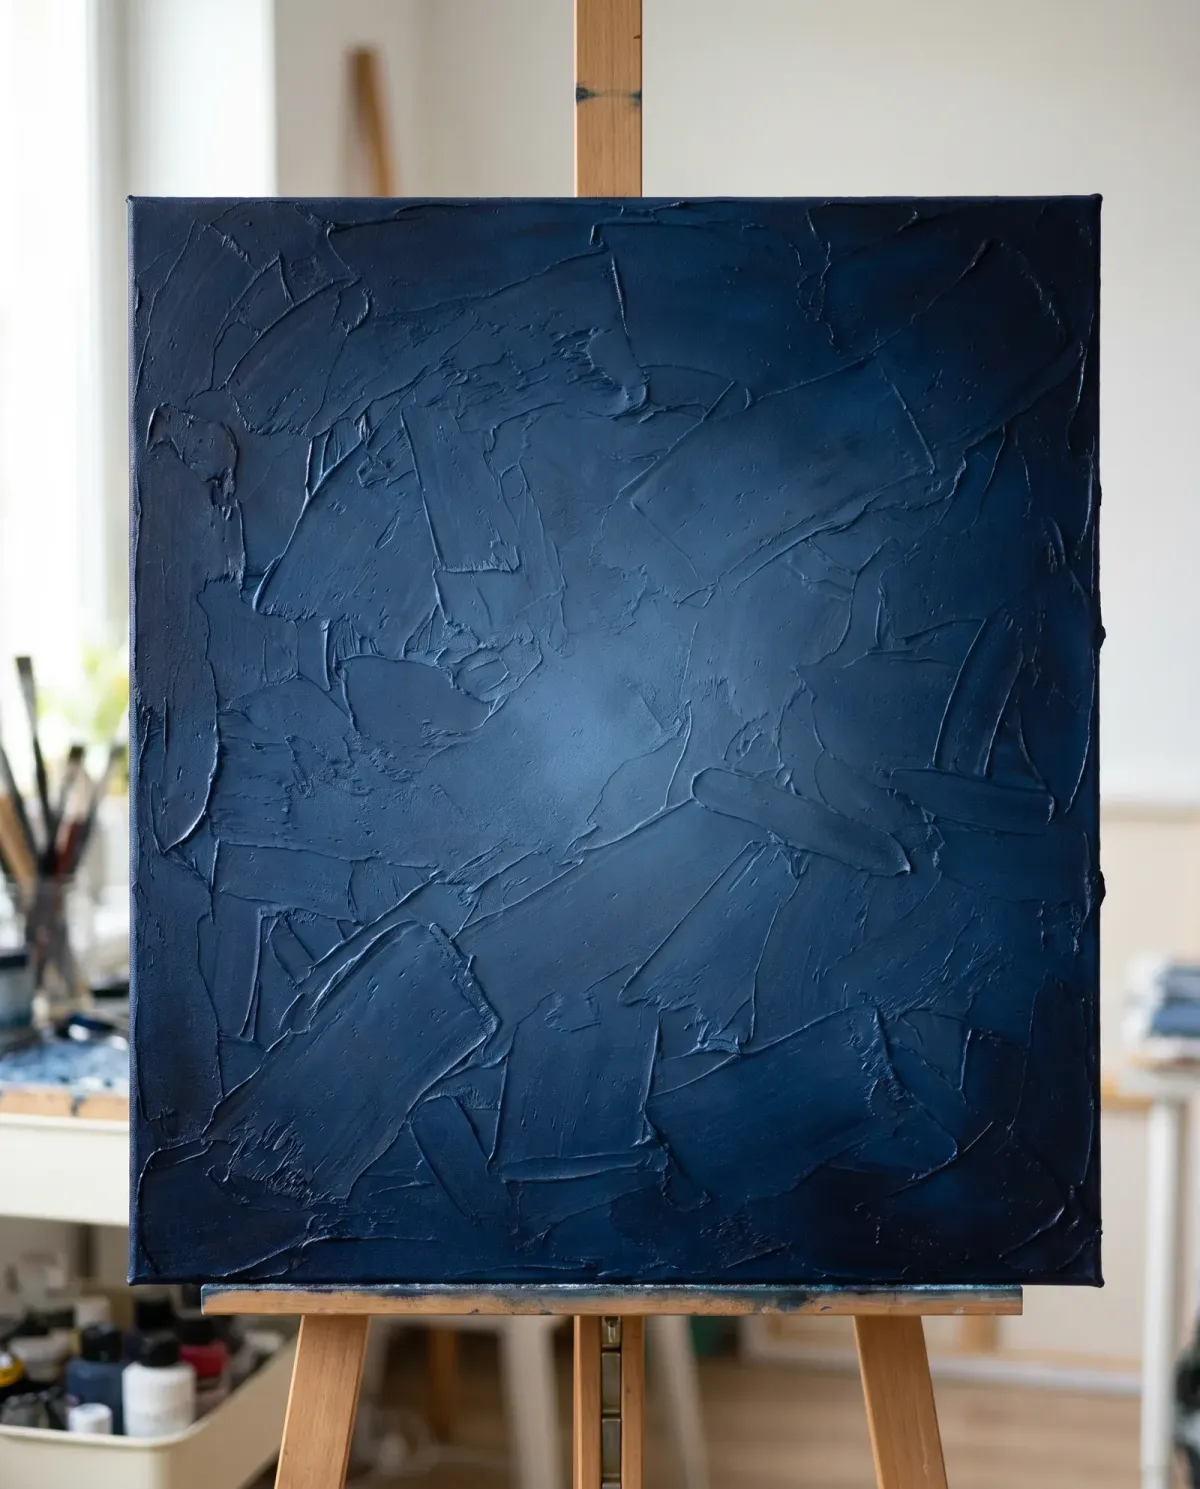
Painting the Night Sky
Your first win with texture paste! You'll build a deep, lightly textured night sky that makes the white of the moon look twice as bright.
How to lay down a night sky no beginner can botch - smooth, even, and zero streaks
Why the shade of your sky decides how bright your moon looks - pick wrong and the glow falls flat before you've even started the moon
The light-texture pass most people skip on the sky - so it reads as real sky, not a flat coat of dark paint
My two go-to sky colors - charcoal for drama, midnight-blue for calm, and how the same moon turns into a different piece on each
MODULE 3
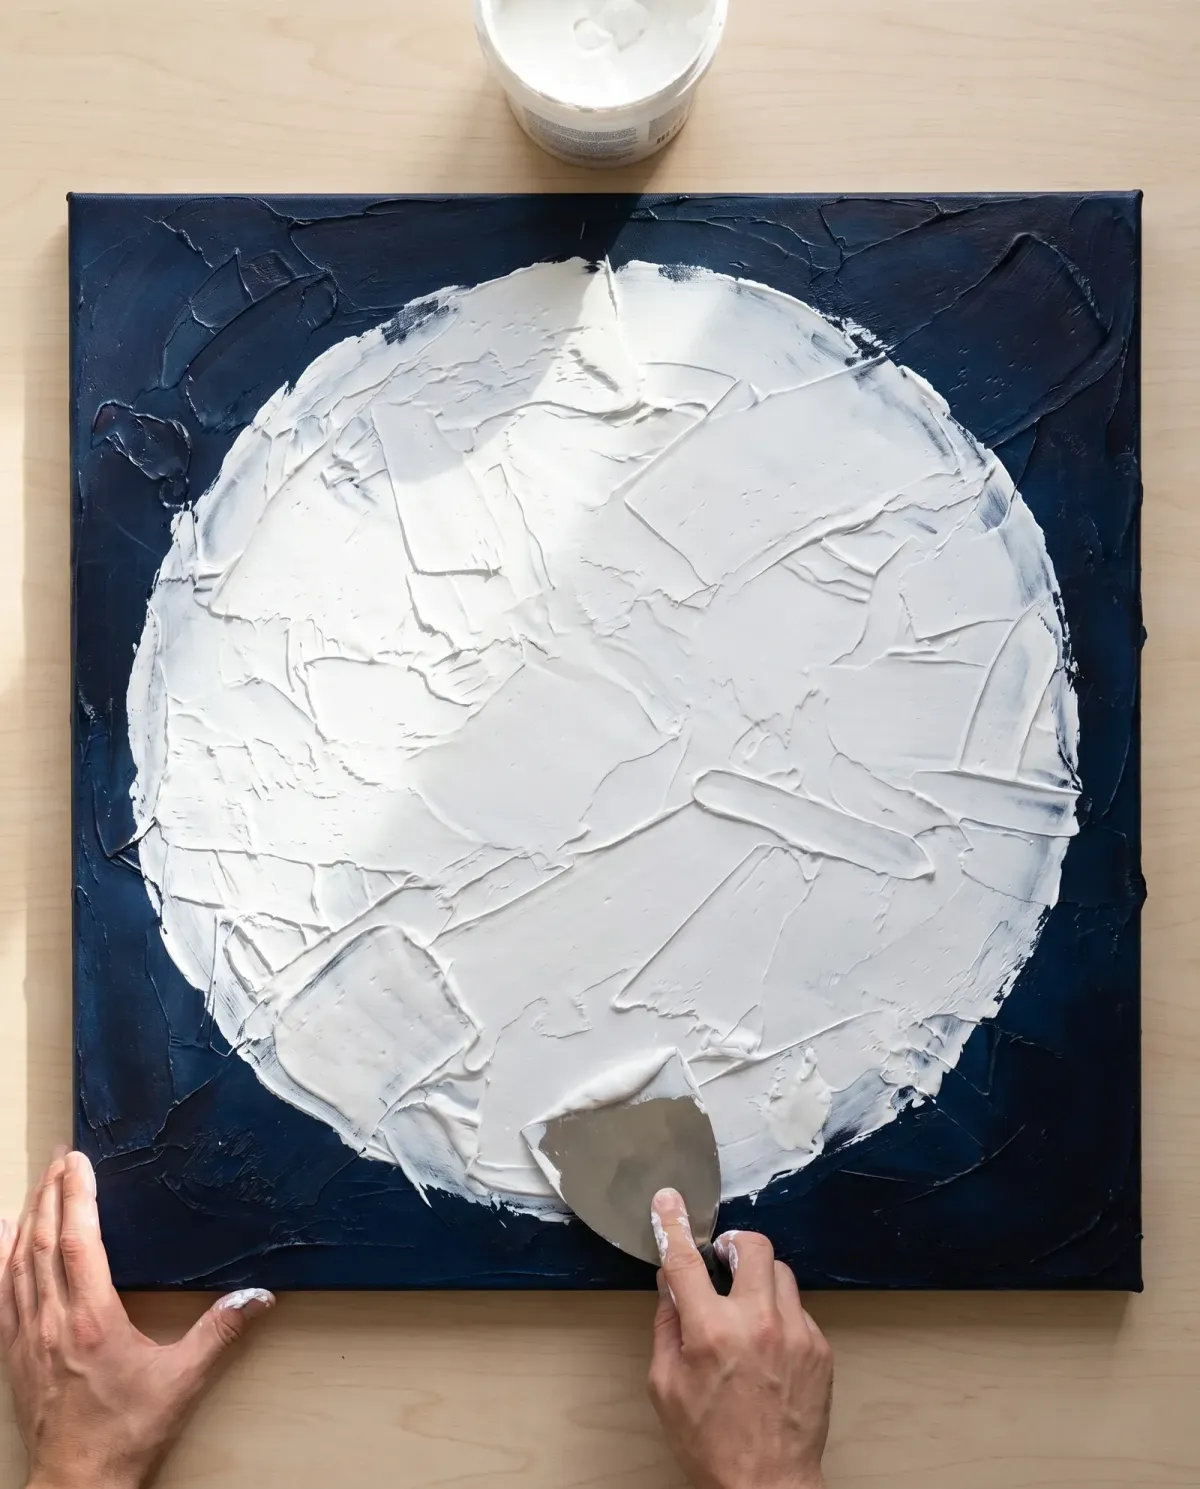
Building Your Moon
You'll build a smooth, raised moon that already lifts off the surface before a single crater is carved.
The "clean-edge" trick for a perfectly round moon - no stencil, no compass, no tracing
Spot the paste thickness that looks right but ruins your craters later - so you catch it before it costs you a single crater
Why a few uneven patches actually make your moon look real - so the perfectionist in you can finally relax
Know the exact moment I set my knife down - miss it, and you'll overwork a moon that was already good
MODULE 4
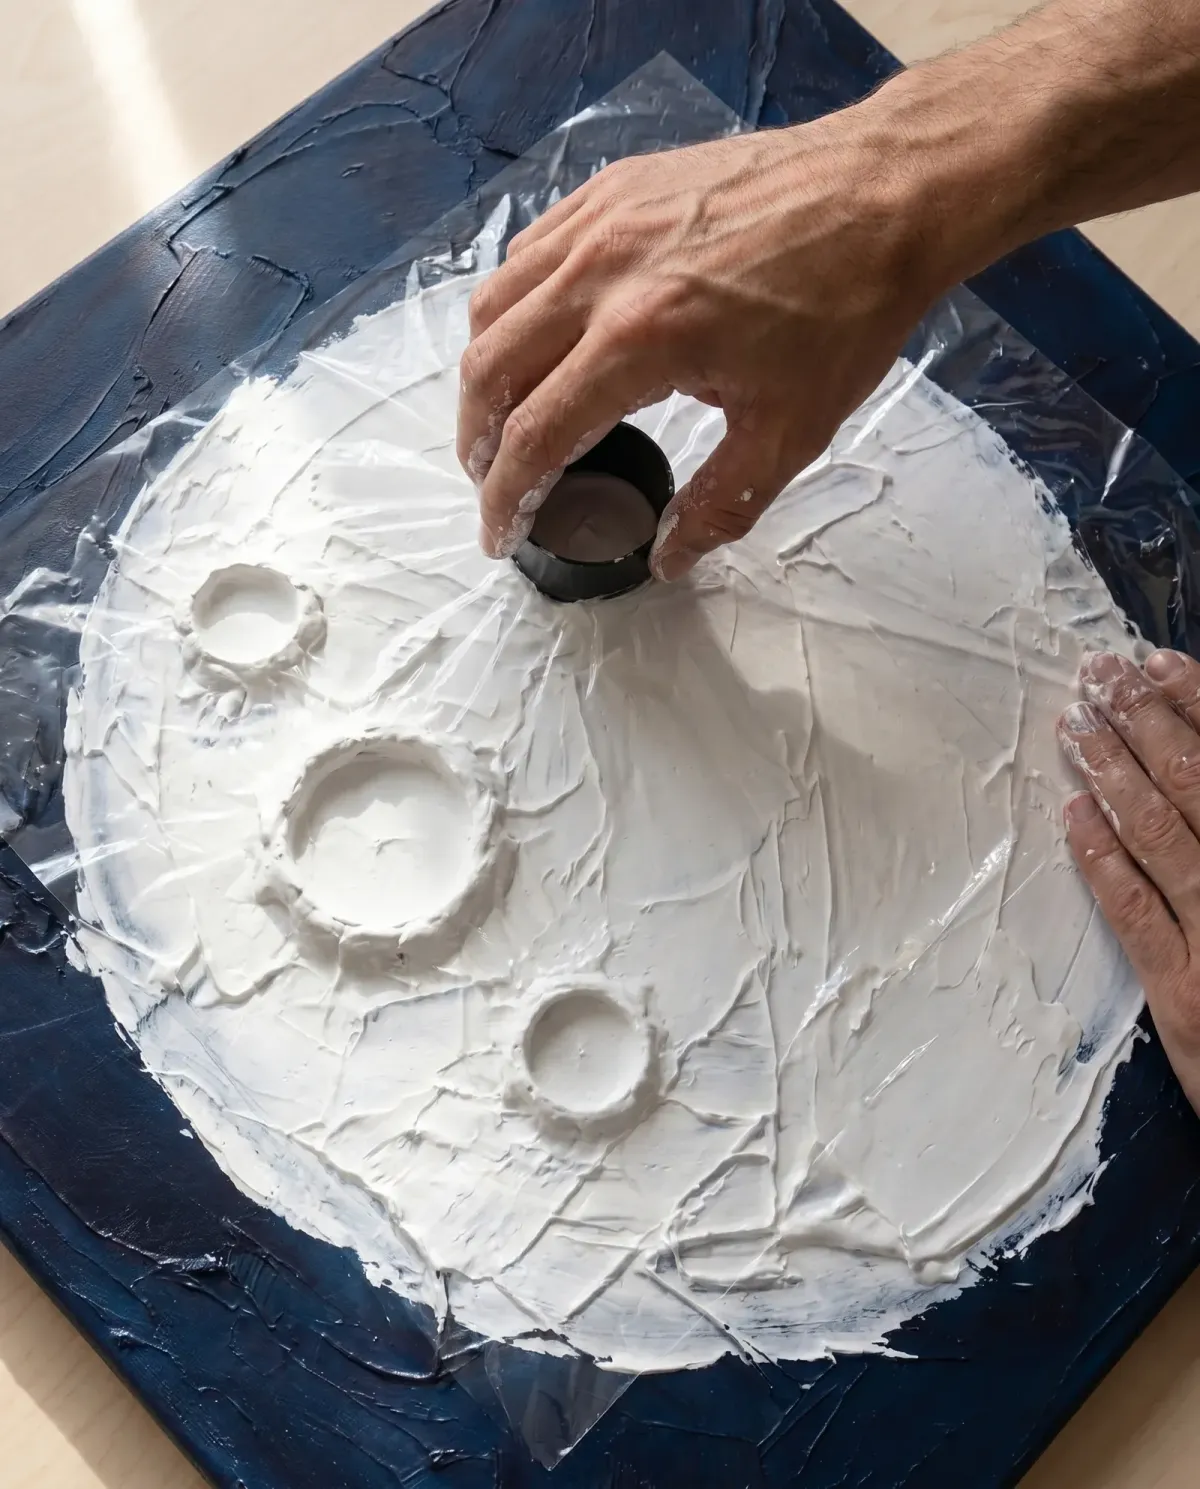
Sculpting the Craters
This is the moment a smooth white disc starts turning into the Moon. You'll feel each crater form and each ridge take shape under your hands.
Why evenly spaced craters always look fake - and the natural scatter method that makes yours look like an actual lunar surface
The press-and-lift move - one clean push and the crater drops deep enough to cast its own shadow
Put that Module 1 kitchen tool to work on the crater rims - it tears a jagged, broken edge in seconds, the kind that makes people lean in close
The dead giveaway hiding in a crater's outline - the quick fix that makes each one look struck, not stamped
MODULE 5
Fine Texturing
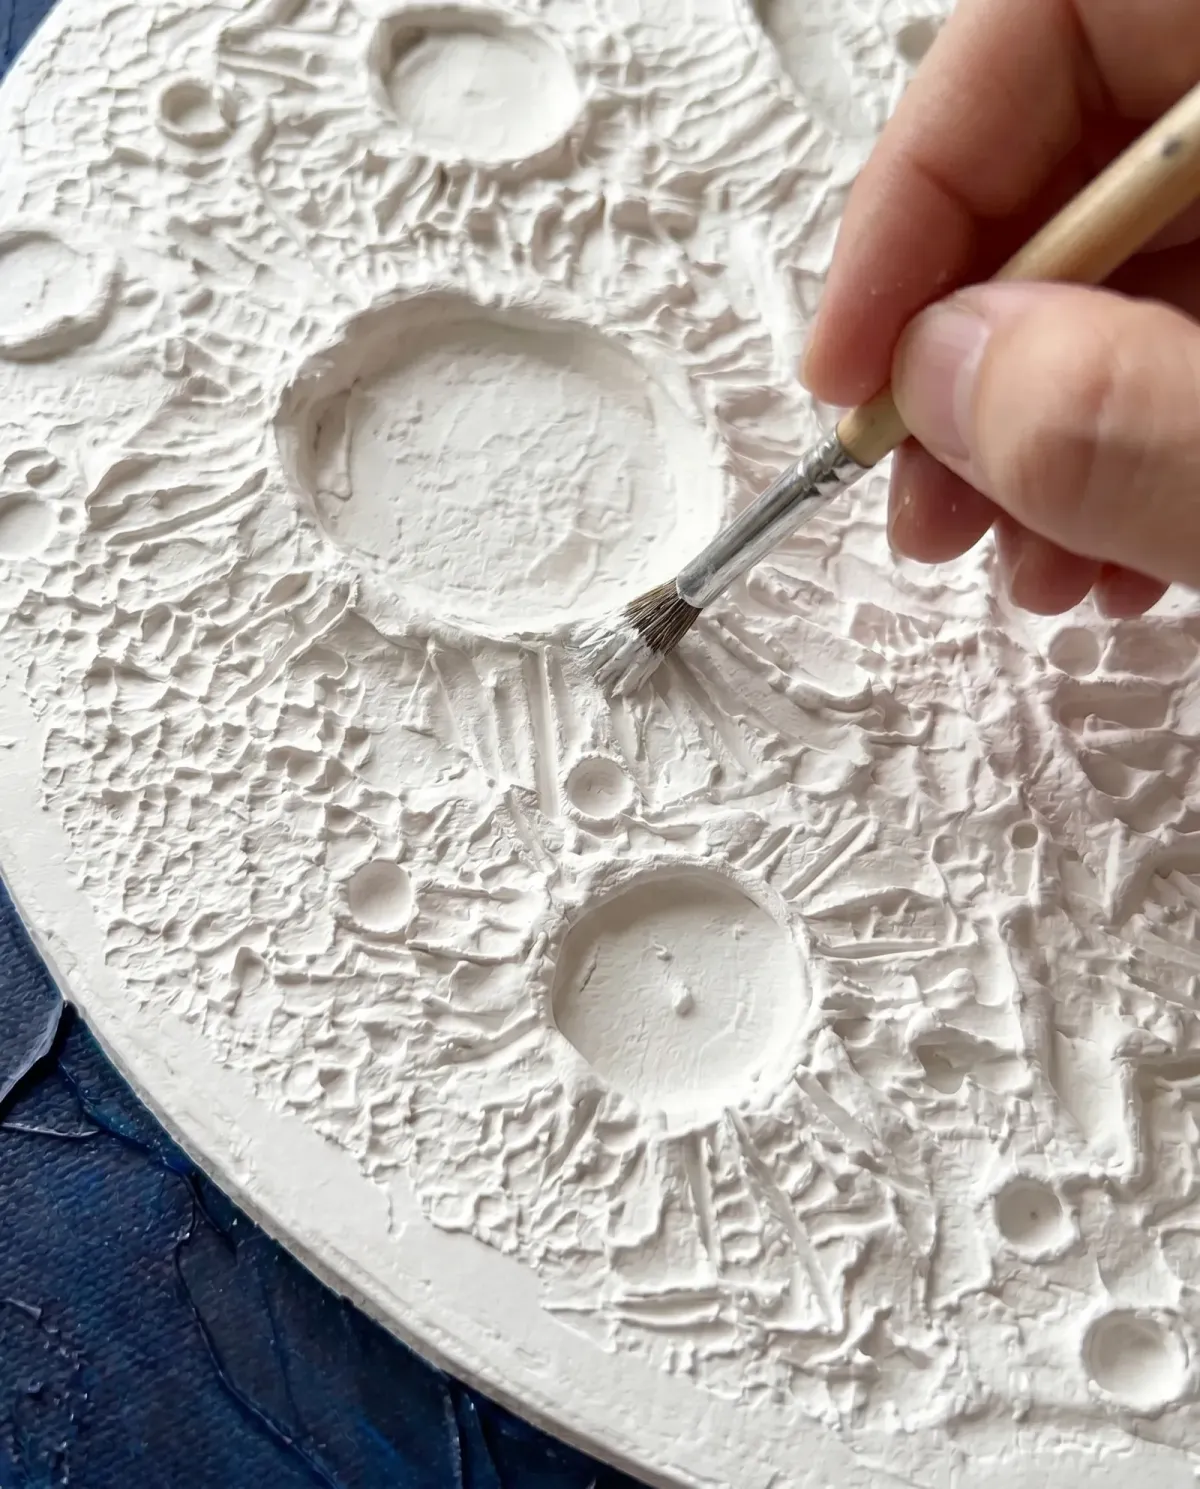
This is where your moon's surface goes from craters on a white disc to unmistakably The Moon - without any paint or shading.
Scatter tiny craters between the big ones - so the surface fills in instead of looking bare and patchy
How to flick thin rays out from each crater rim - the small move that separates a beginner moon from a believable one
The stippling motion I use across the whole surface - it pits the paste so even the flat spots stop looking smooth or fake
One last detail pass tips it from "nice" to "that's the moon!" - the step that does the most and asks the least of you
MODULE 6
The Glossy Finish
Turn your finished moon into a showpiece - a glass-like shine that catches the light and makes every crater you carved POP. It locks the texture in for years at the same time, then you get it on the wall looking perfect.
The high-gloss coat that makes the whole moon gleam - one pass and a matte surface turns glossy enough to mirror the room, while locking your texture in for good
Sign your moon like an artist would - the small touch that turns a project into a piece you're proud to show
How to finish the raw canvas edges - two minutes of work so the whole piece looks gallery-ready from every angle
Exactly how long I let the gloss cure before moving it - rush it and you smear the shine you just laid down
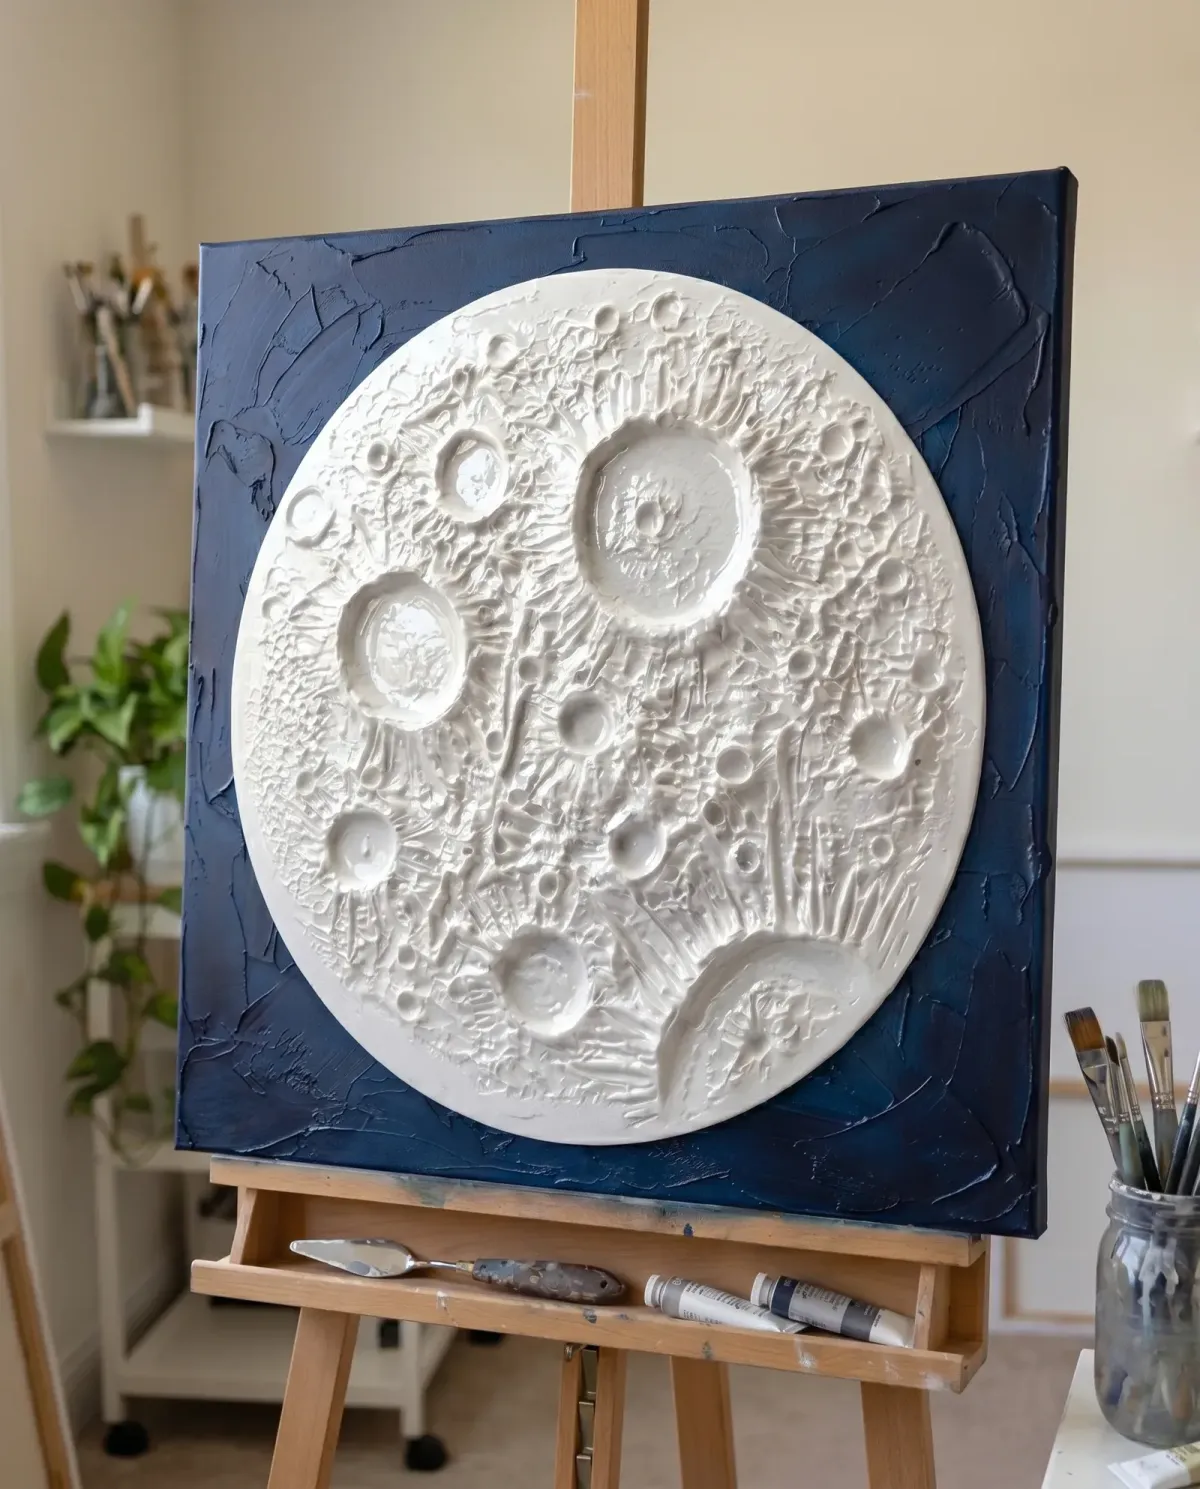
By the end of this workshop, you'll have a finished textured moon you're proud to hang on your wall...
...and the confidence to make a completely different one any weekend you like!
The workshop price is: $97
But that's NOT the price you'll be paying right now.
You see...
...the page you're looking at is a beta test.
I'm not sure I can give personal attention to more than 100 people who buy this workshop. And I want you to get results.
So I'm opening it at just $97 $47 to a small group first.
Not as a gimmick. Just an honest beta test.
If everything goes well, the price goes up.
If something needs fixing, the page comes down and I'll rebuild it until it's right.
Either way, this price won't be around forever.
If you want in on this special beta-test pricing, now's the time.
Get your copy today by clicking the button below:
Normally $97
Now Only $47
One-time purchase.
Lifetime access forever.
P.S. If you click the button and the next page doesn't load... you're too late!
90-Day Money-Back Guarantee

🔒 Secure Payment 🔒 Privacy Protected
Plus you're backed by my 90-day unconditional money back guarantee
I want you to feel 100% confident in your decision to join this workshop.
That's why I'm giving you my strongest guarantee ever:
You don't have to decide right now.
Take the full 90 days.
Go through the modules and start creating your moon.
See what happens when you brush on the gloss and the whole moon gleams for the first time.
If you don't absolutely love the workshop for any reason, just send one email to [email protected] - and I'll refund your entire purchase within 24 hours. No questions asked.
You either love what you create... or you don't pay for it!
To help you go even further...
I want you to finish your first moon and hang something on your wall you're genuinely proud of.
Then have the confidence you can do it all over again whenever you feel like it.
So I've put together a few extra resources to make that happen.
Get 5 FREE bonuses if you join now
🎁 BONUS 1
The Many Moons Template Collection
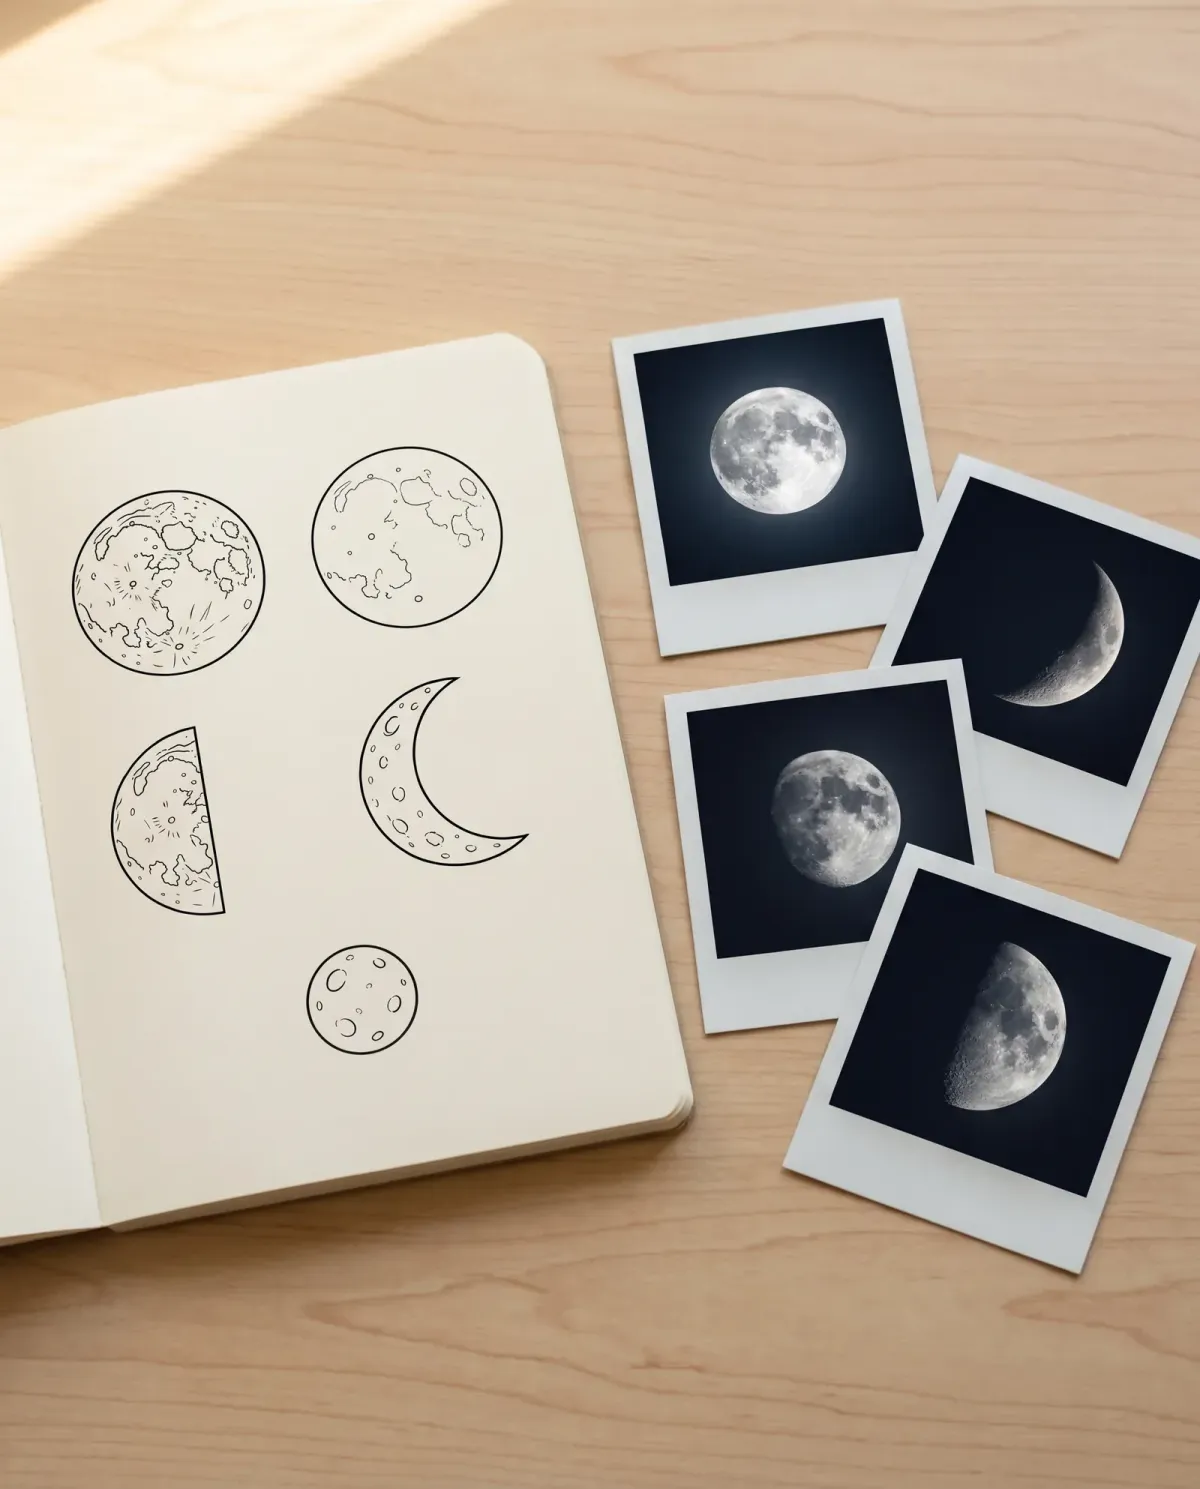
Keep making new moons with a full collection of printable templates - different crater layouts, phases, and sizes - so no two ever look the same.
Ready-to-trace crater layouts for every kind of moon - from a sparse, calm surface to one packed edge to edge
Full moon, half moon, and crescent templates - so you can work through the phases one canvas at a time
Templates sized for big wall pieces and small gift canvases - the minis turn into a gift that looks boutique-bought
Real moon close-ups paired with each layout - so your craters copy the real thing, crater for crater
Value: $19 → FREE
🎁 BONUS 2
The Finish Recipes Guide
Want your moon in different colors? Get the exact recipes for multiple moon finishes - so you nail the look you want the first time.
How one white moon turns into multiple completely different finishes - from a soft bedroom gray to a moody living-room slate
My go-to finish for when you can't decide - a safe bet that looks right in any room, so you can just start
A quick way to match the finish to your room - settled before you open a single tube of paint
Keep a printable cheat sheet beside your canvas - every color and ratio on one page, nothing to slow you mid-stroke
Value: $17 → FREE
🎁 BONUS 3
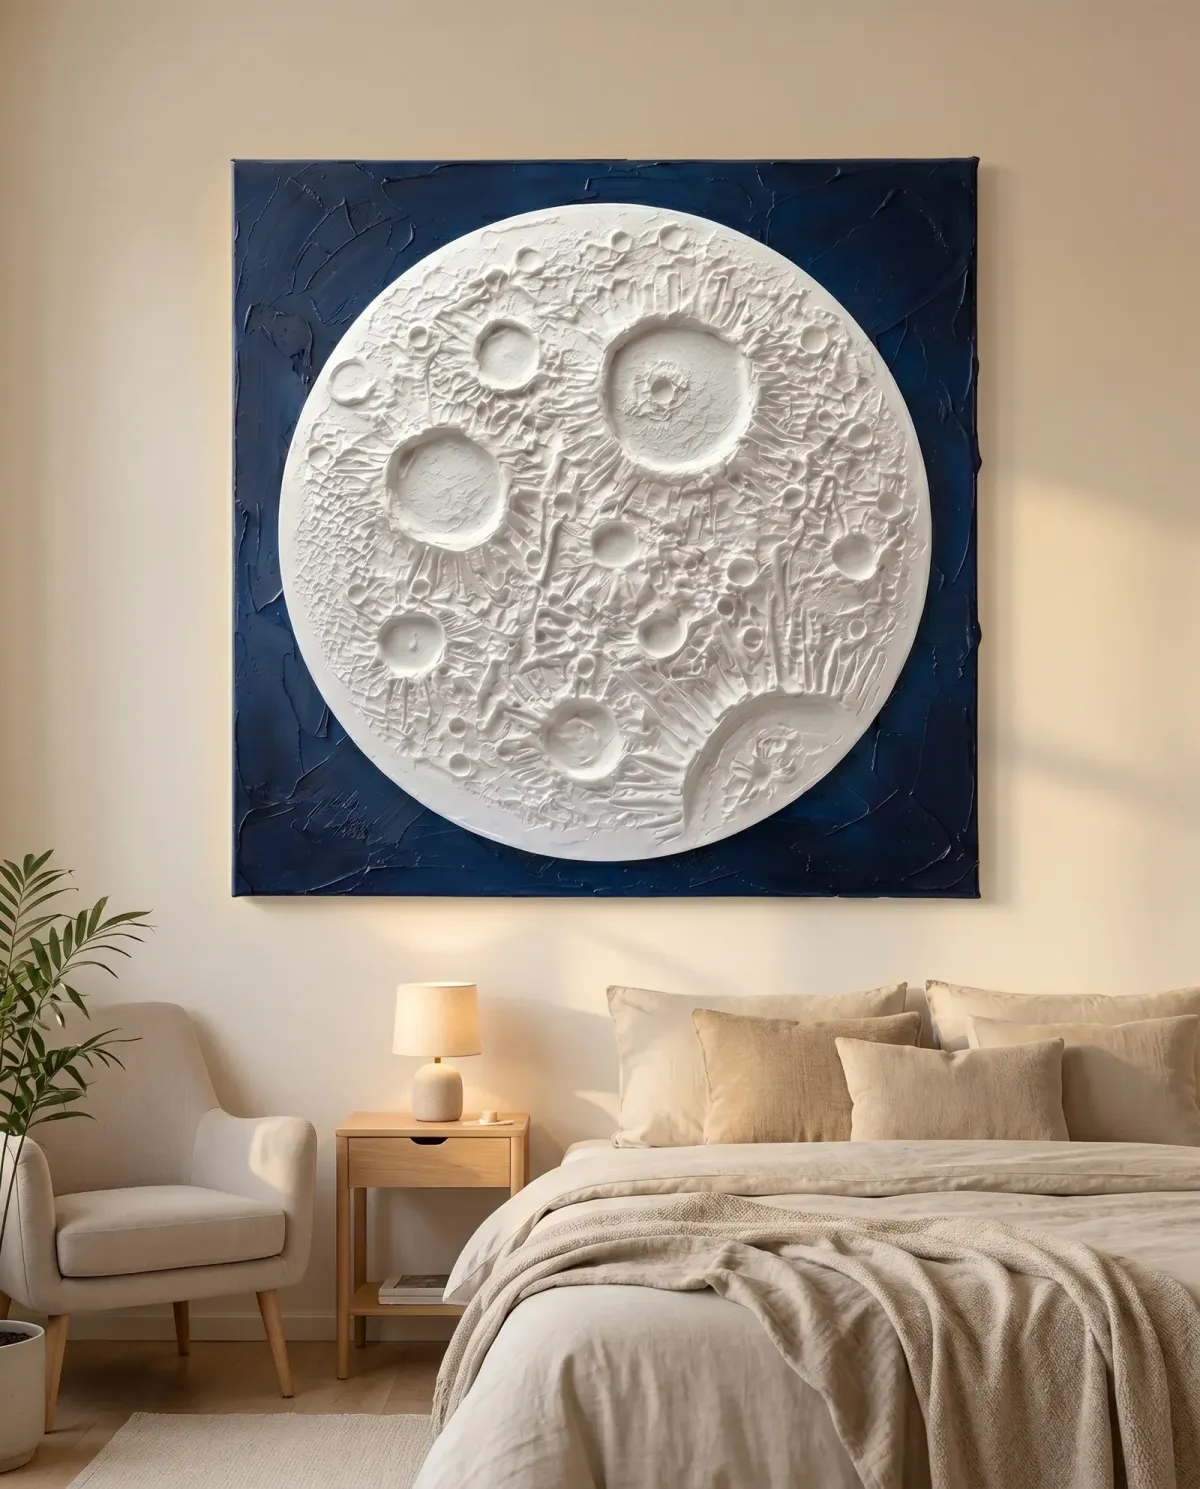
Hang Your Moon Without Nails
Textured canvases are heavier than you'd think. This short guide gets yours on the wall without drilling a single hole.
A mounting method rated for twice your canvas's weight - holds firm without leaving a mark
Hang it dead straight with one simple leveling trick - no tape measure, no squinting, no second person
How to take it down and move it to another room - rearrange whenever you like, no patching, no holes
Value: $18 → FREE
🎁 BONUS 4
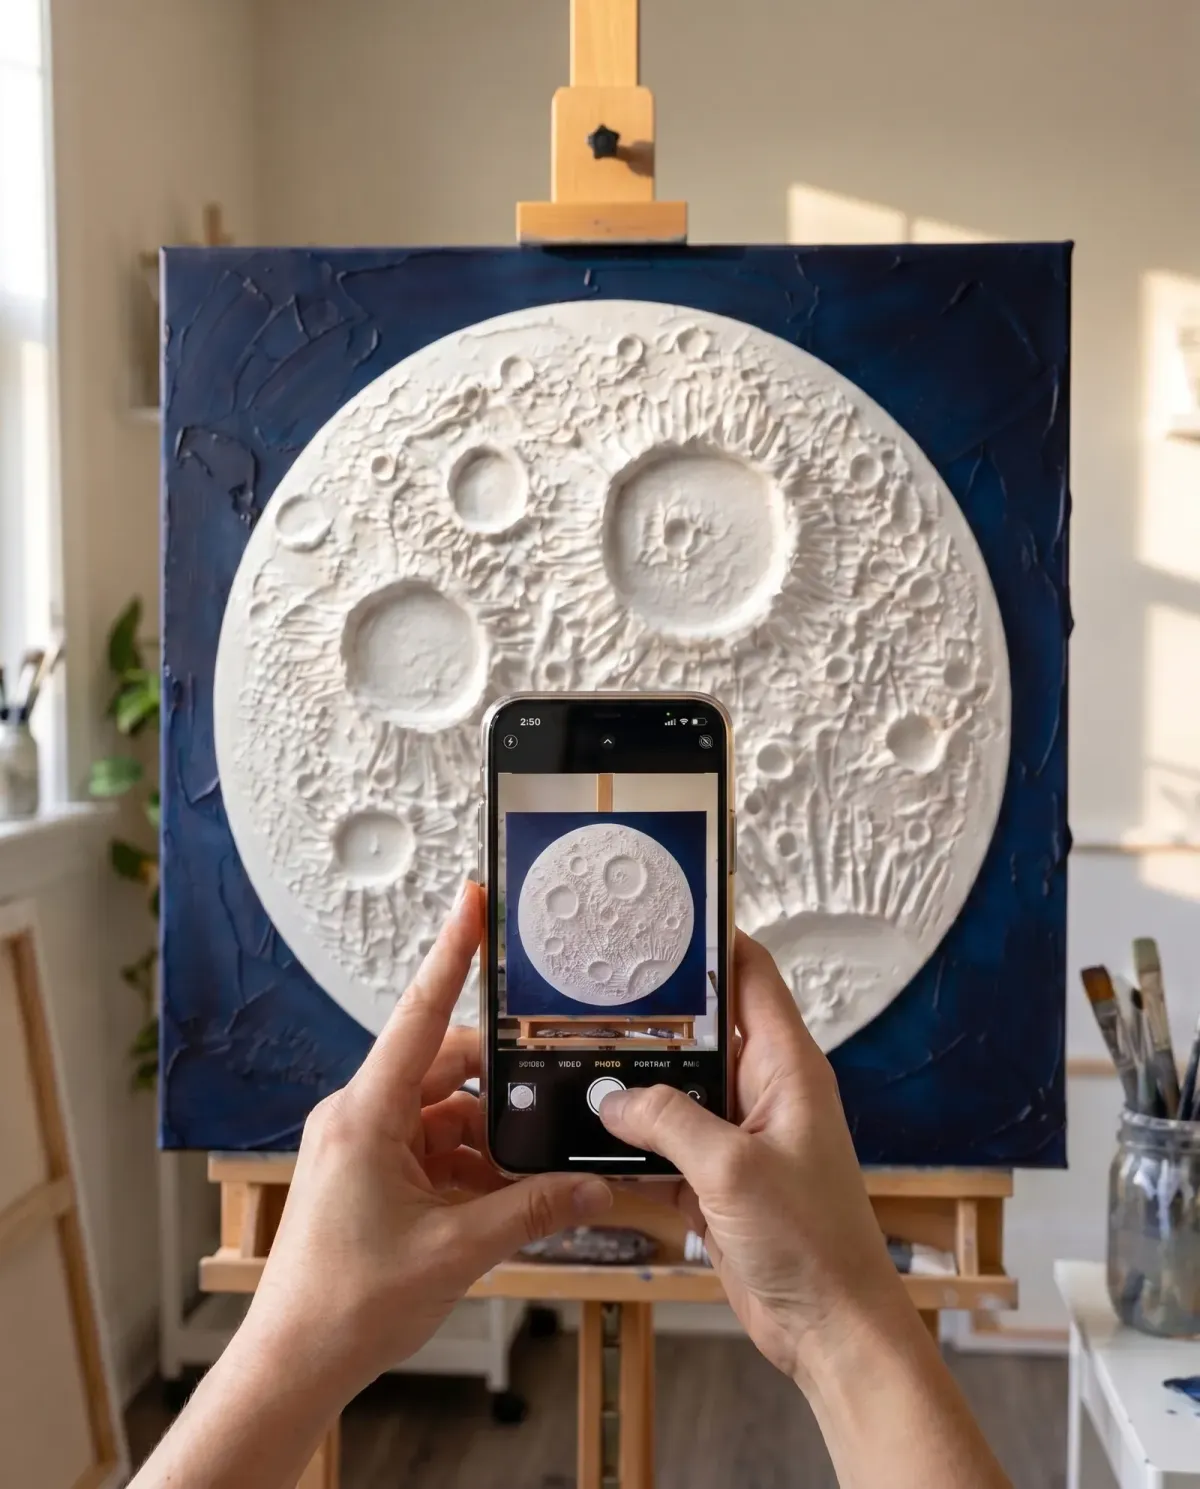
The Gallery-Shot Guide
Most phone photos wash out the craters and lose the depth. This short guide shows you how to capture yours so the photo does justice to the real thing.
The camera angle that keeps your craters deep in the frame - most people flatten the whole moon without realizing it
A single lighting tweak that makes a flat photo something you can feel - same phone, same room, completely different shot
One tap in your photo editor that brings back every ridge - without tipping the colors into filtered or fake
How to share your moon so it stays textured on someone else's screen - not a flat white circle on a blue square
Value: $15 → FREE
🎁 BONUS 5
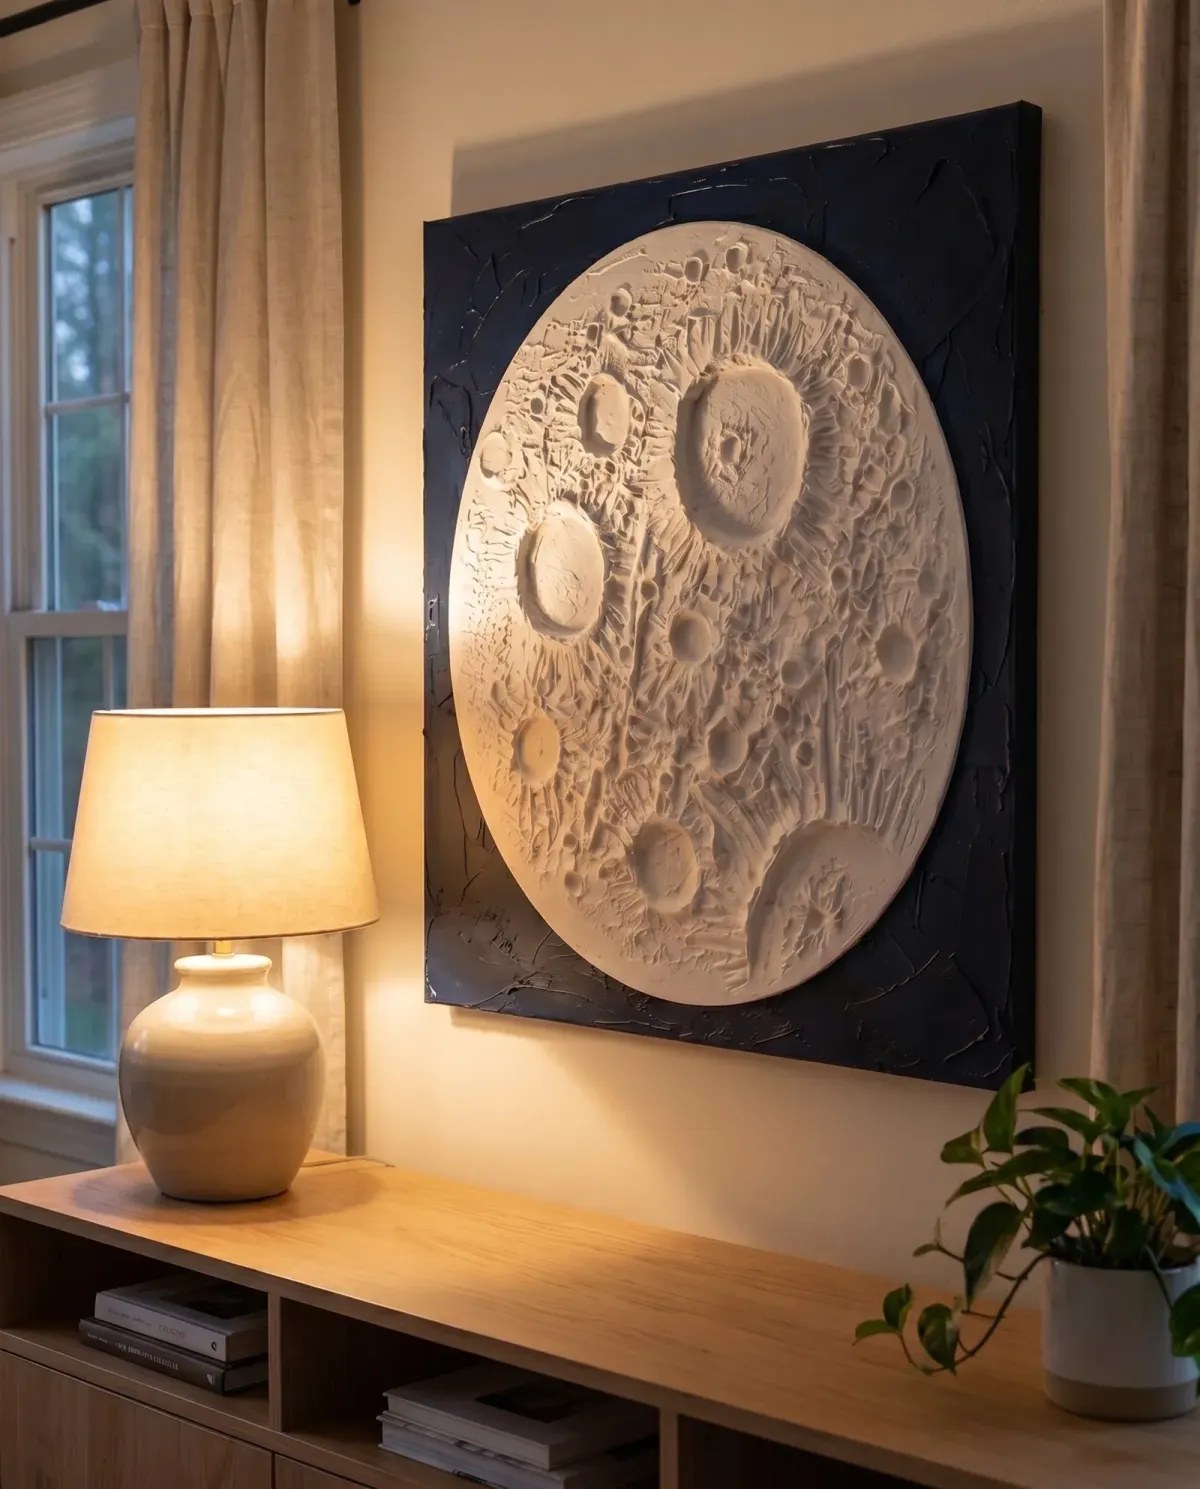
Light Your Moon
The same moon looks flat or stunning depending on one thing: where the light hits it. This guide shows you how to place one lamp so the whole piece comes alive.
Angle the lamp so it drops a real shadow into every crater - people swear it's a different moon than the one on your table
How to find the wall where the light already does the work for you - no new lamp needed
The 30-second "move and watch" test - the fastest way to land the exact glow your moon was built for
Why a hallway with one side light beats a living room with a dozen lamps - so you hang it where it always looks its best
Value: $14 → FREE
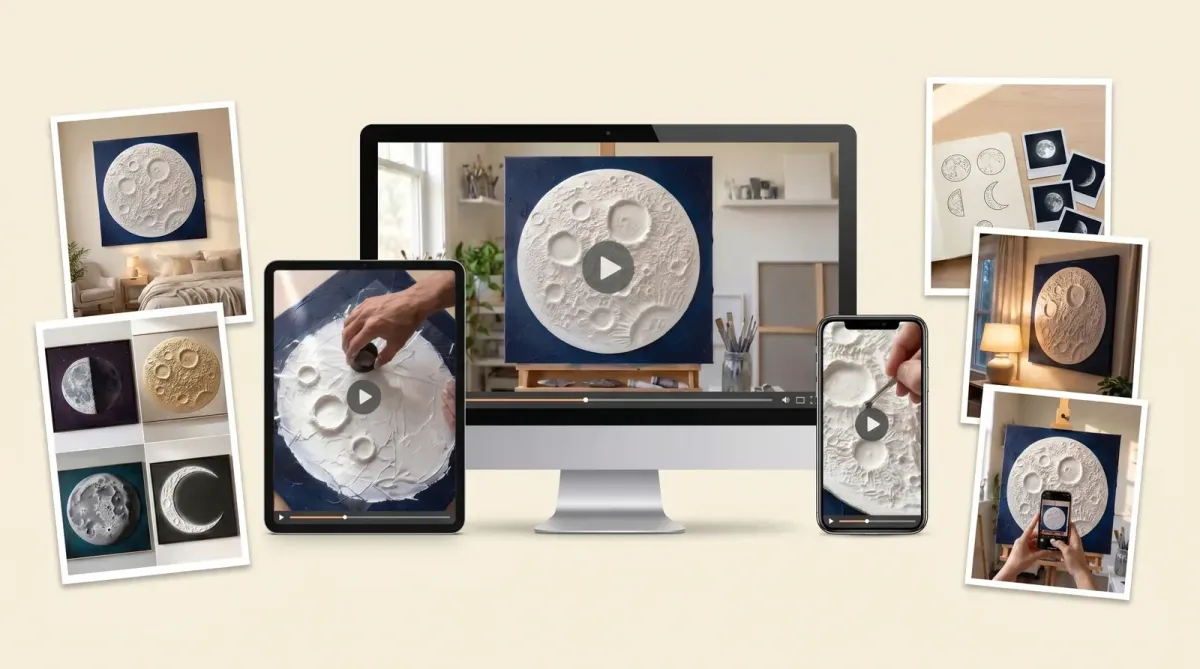
Here's Everything You're Getting:
The Complete Glowing Textured Moon Art Workshop — (
$97$47)> Module 1: Everything You Need to Get Started
> Module 2: Painting the Night Sky
> Module 3: Building Your Moon
> Module 4: Sculpting the Craters
> Module 5: Fine Texturing
> Module 6: The Glossy Finish
Bonus #1: The Many Moons Template Collection — (
$19FREE)Bonus #2: The Finish Recipes Guide — (
$17FREE)Bonus #3: Hang Your Moon Without Nails — (
$18FREE)Bonus #4: The Gallery-Shot Guide — (
$15FREE)Bonus #5: Light Your Moon — (
$14FREE)
That’s $180 of total value - yours for just $47 when you join now.
Get your copy today by clicking the button below:
Normally $97
Now Only $47
One-time purchase.
Lifetime access forever.
P.S. If you click the button and the next page doesn't load... you're too late!
90-Day Money-Back Guarantee
🔒 Secure Payment 🔒 Privacy Protected
Frequently Asked Questions
Is the workshop suitable for beginners?
Absolutely! This was built for complete beginners - even if you've never picked up a palette knife in your life.
Texture paste is one of the most forgiving materials you'll ever work with. If something doesn't look right, you can scrape it off and reshape it while it's still wet. Every step is on video too, so nothing feels like guesswork.
What if I'm not artistic?
No worries at all! You don't need to be artistic to follow a step-by-step process, and that's all this workshop really is.
Neither was I when I started. The paste does most of the work for you.
Do I need any special materials?
Nope! The first module gives you a full printable checklist of everything you need.
The best part? It's all super affordable, and there's a good chance you already own some of it without realizing.
How long does it take to finish a moon?
Most people finish over a single weekend. That's usually 3-5 relaxed sessions of about an hour each.
The paste needs drying time between layers, so the pace is built into the process itself.
How is the workshop delivered?
After you join, you'll get an email with instant access. Inside, you'll find step-by-step video lessons and printable guides for every module.
Everything stays online for good, so you can come back to any lesson whenever you want.
How long will I have access to the workshop?
Forever! One simple payment and the workshop is yours for life. Log in from any device, any time.
What if I make a mistake?
No worries! Texture paste stays workable far longer than you'd expect, so a slip is never permanent. You've got plenty of time to fix it or reshape it before anything sets.
And imperfections actually make a moon look more realistic. The real lunar surface is full of them.
I've tried art classes before and got discouraged. How is this different?
I get it. Falling behind in a live art class is the fastest way to lose interest. This isn't a class though.
Every lesson is video you control completely. Pause, rewind, or rewatch a step as many times as you need, at your own pace. The whole workshop is also built around the moments people usually get stuck - paste consistency, crater shape, the gloss finish.
So when something feels tricky, you'll find it's already been handled.
What if I get stuck?
Every step is shown on video, so you can see exactly what it should look like at each stage.
If something still isn't clicking, just email [email protected] and I'll personally help you work it out.
Will the texture crack over time?
Nope! Module 6 walks you through the high-gloss seal that locks every crater and ridge in place. Once that's on, your moon stays crisp and solid for years.
Is it safe to purchase online?
Absolutely! Every payment is processed through a secure, trusted provider (Stripe). Your information stays protected from start to finish.
Is this a one-time payment?
Yes. One payment and you're done. No subscription, no recurring billing.
What if I want a refund?
Just shoot over an email at [email protected] any time within 90 days, and I'll refund every cent within 24 hours, no questions asked. It's a risk-free 90-day trial if you think about it.
If you've read this far, you already know you want to make one... let's go!
Here's EVERYTHING You're Getting Now For Just $47:
The Complete Glowing Textured Moon Art Workshop — (
$97$47)> Module 1: Everything You Need to Get Started
> Module 2: Painting the Night Sky
> Module 3: Building Your Moon
> Module 4: Sculpting the Craters
> Module 5: Fine Texturing
> Module 6: The Glossy Finish
Bonus #1: The Many Moons Template Collection — (
$19FREE)Bonus #2: The Finish Recipes Guide — (
$17FREE)Bonus #3: Hang Your Moon Without Nails — (
$18FREE)Bonus #4: The Gallery-Shot Guide — (
$15FREE)Bonus #5: Light Your Moon — (
$14FREE)
That’s $180 of total value... yours for just $47 when you join now!
Get your copy today by clicking the button below:
Normally $97
Now Only $47
One-time purchase.
Lifetime access forever.
P.S. If you click the button and the next page doesn't load... you're too late!
90-Day Money-Back Guarantee
🔒 Secure Payment 🔒 Privacy Protected
For support or questions, email [email protected]
© 2026 Kintsugi Canvas · All Rights Reserved
Privacy Policy · Terms and Conditions · Contact Us
This site is not a part of the Facebook or Instagram websites or Meta Platforms Inc. This site is NOT endorsed by Meta in any way. FACEBOOK and INSTAGRAM are trademarks of Meta Platforms Inc.